Set up SSO with Okta
Let your team log in to Circleback with Okta
You can connect Okta to Circleback by creating a custom SAML application in the Okta Admin Console.
You need access to manage applications in Okta and to be an admin of your Circleback workspace. Before you start, check the requirements in Set up single sign-on.
1. In Circleback, go to Settings → General (under Workspace).
2. Under Single sign-on, select Connect. Choose SAML, then select Continue. Keep this form open.
3. In another tab, open the Okta Admin Console and go to Applications → Applications.
4. Select Create App Integration.
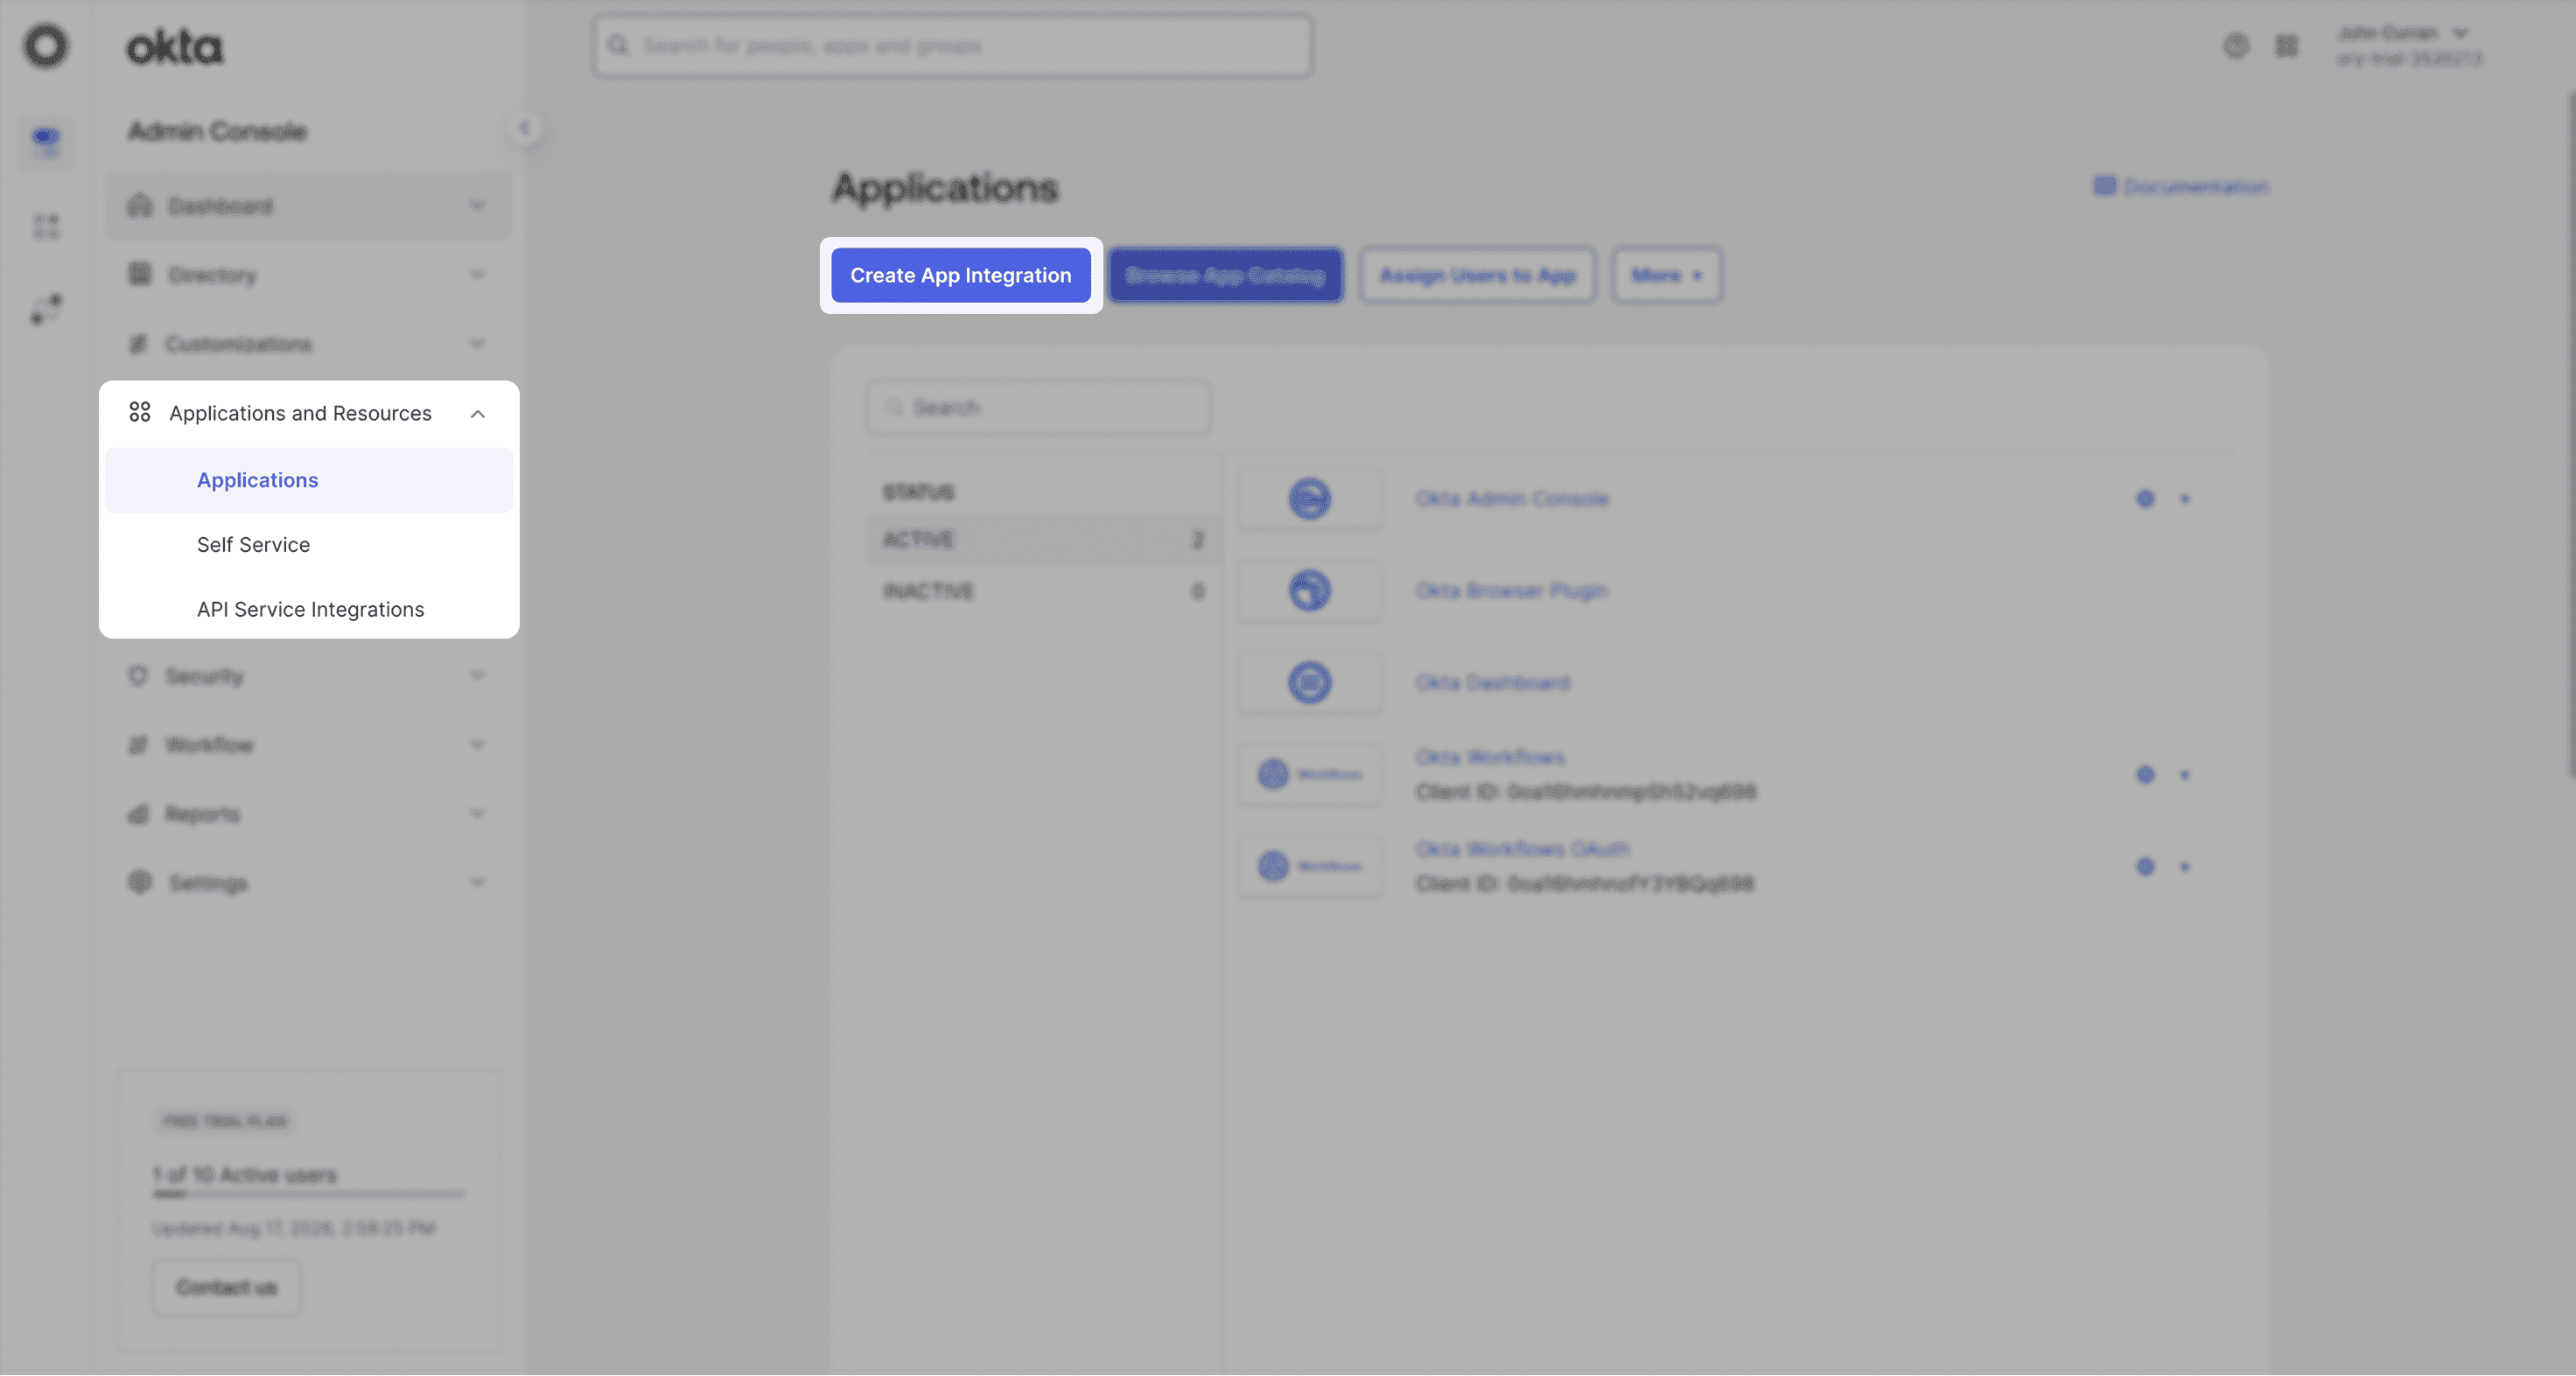
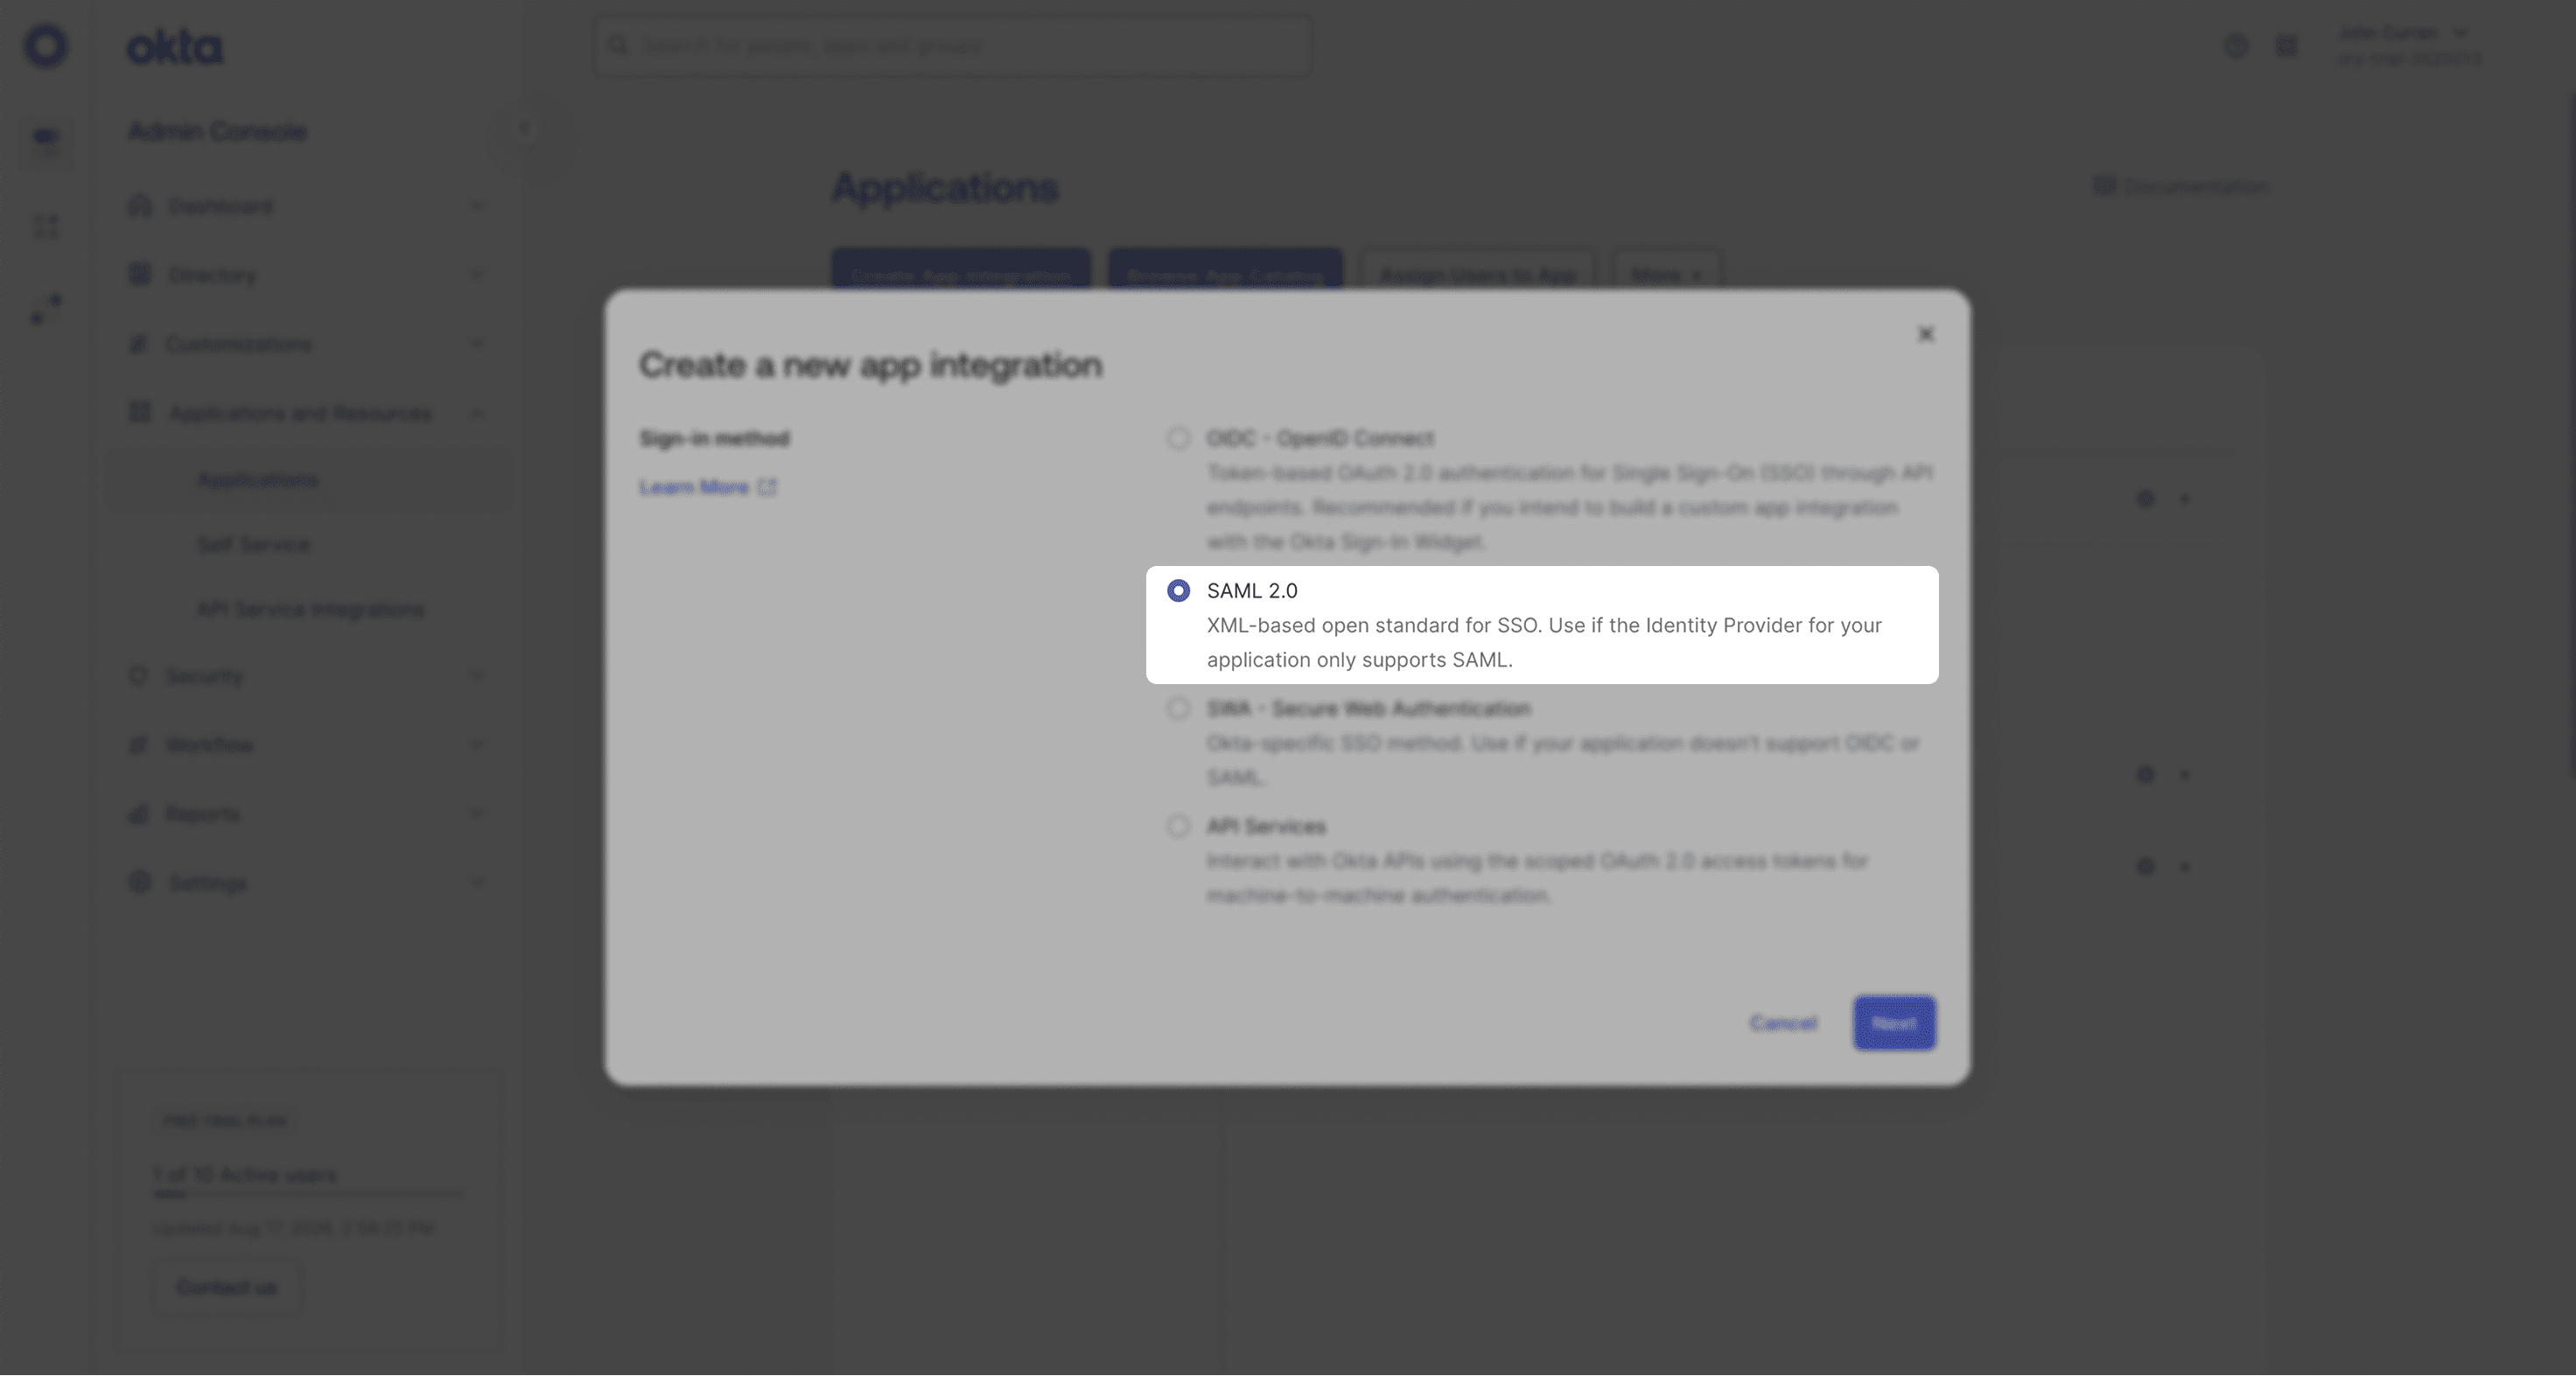
5. Choose SAML 2.0, then select Next.
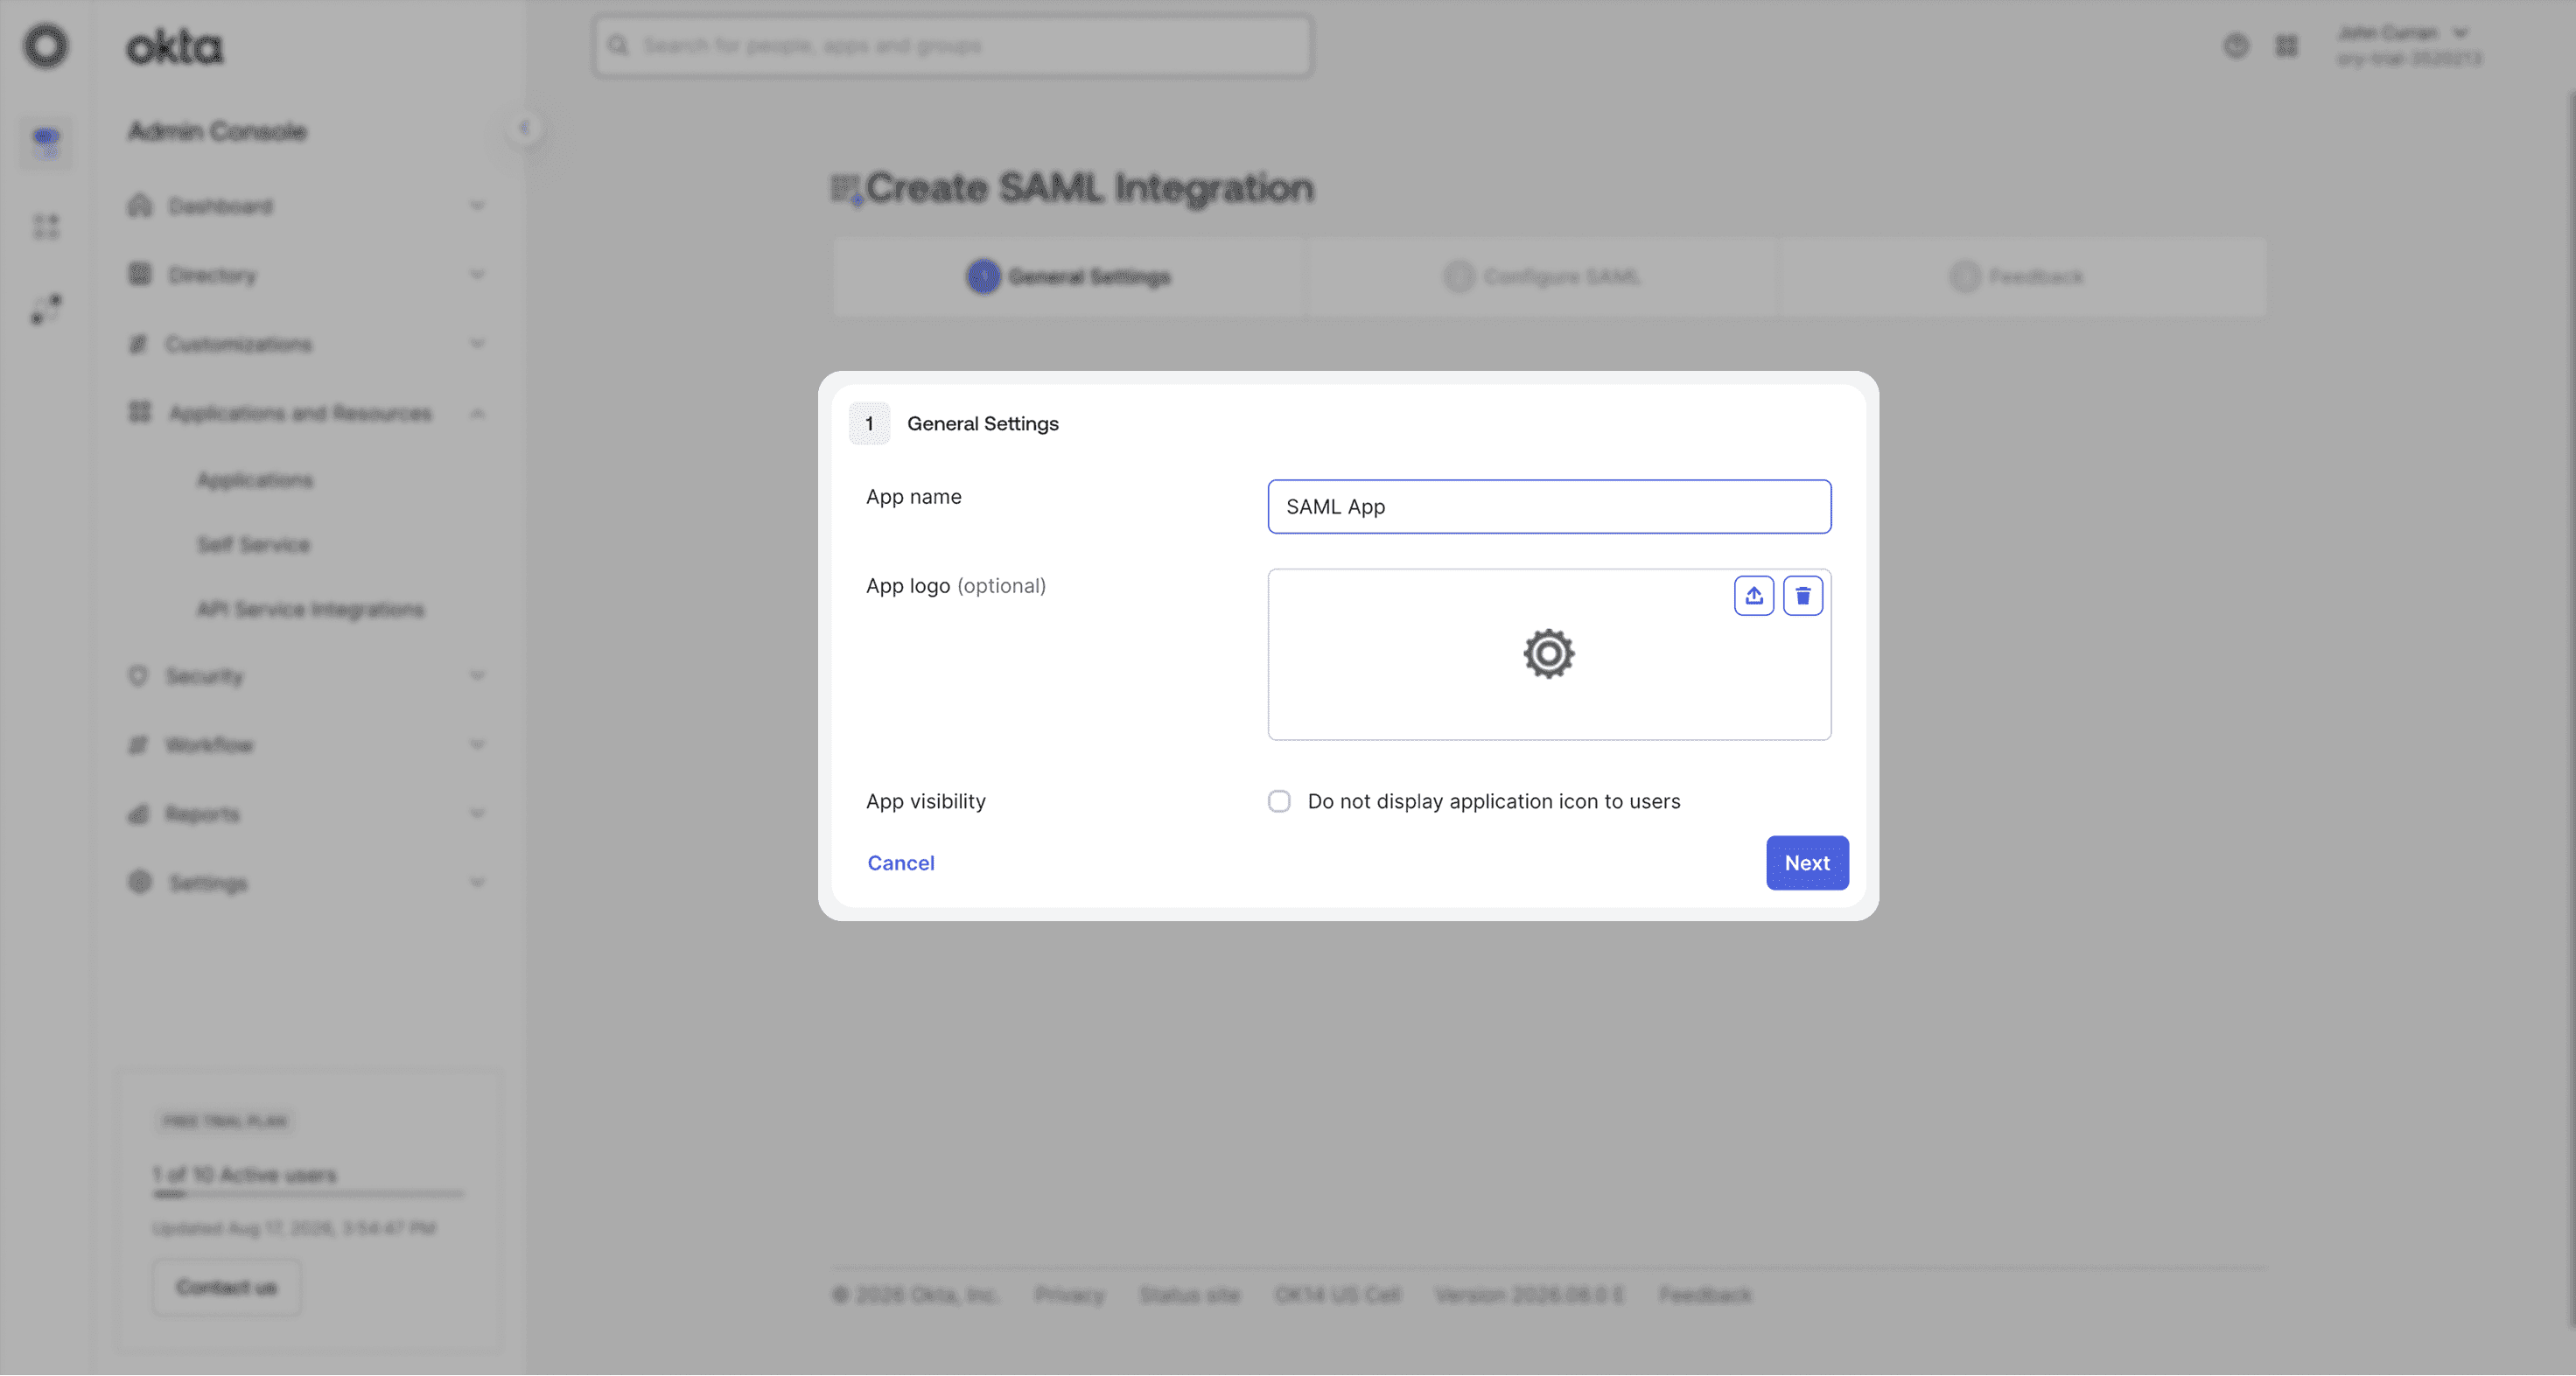
6. Enter Circleback as the app name, then select Next.
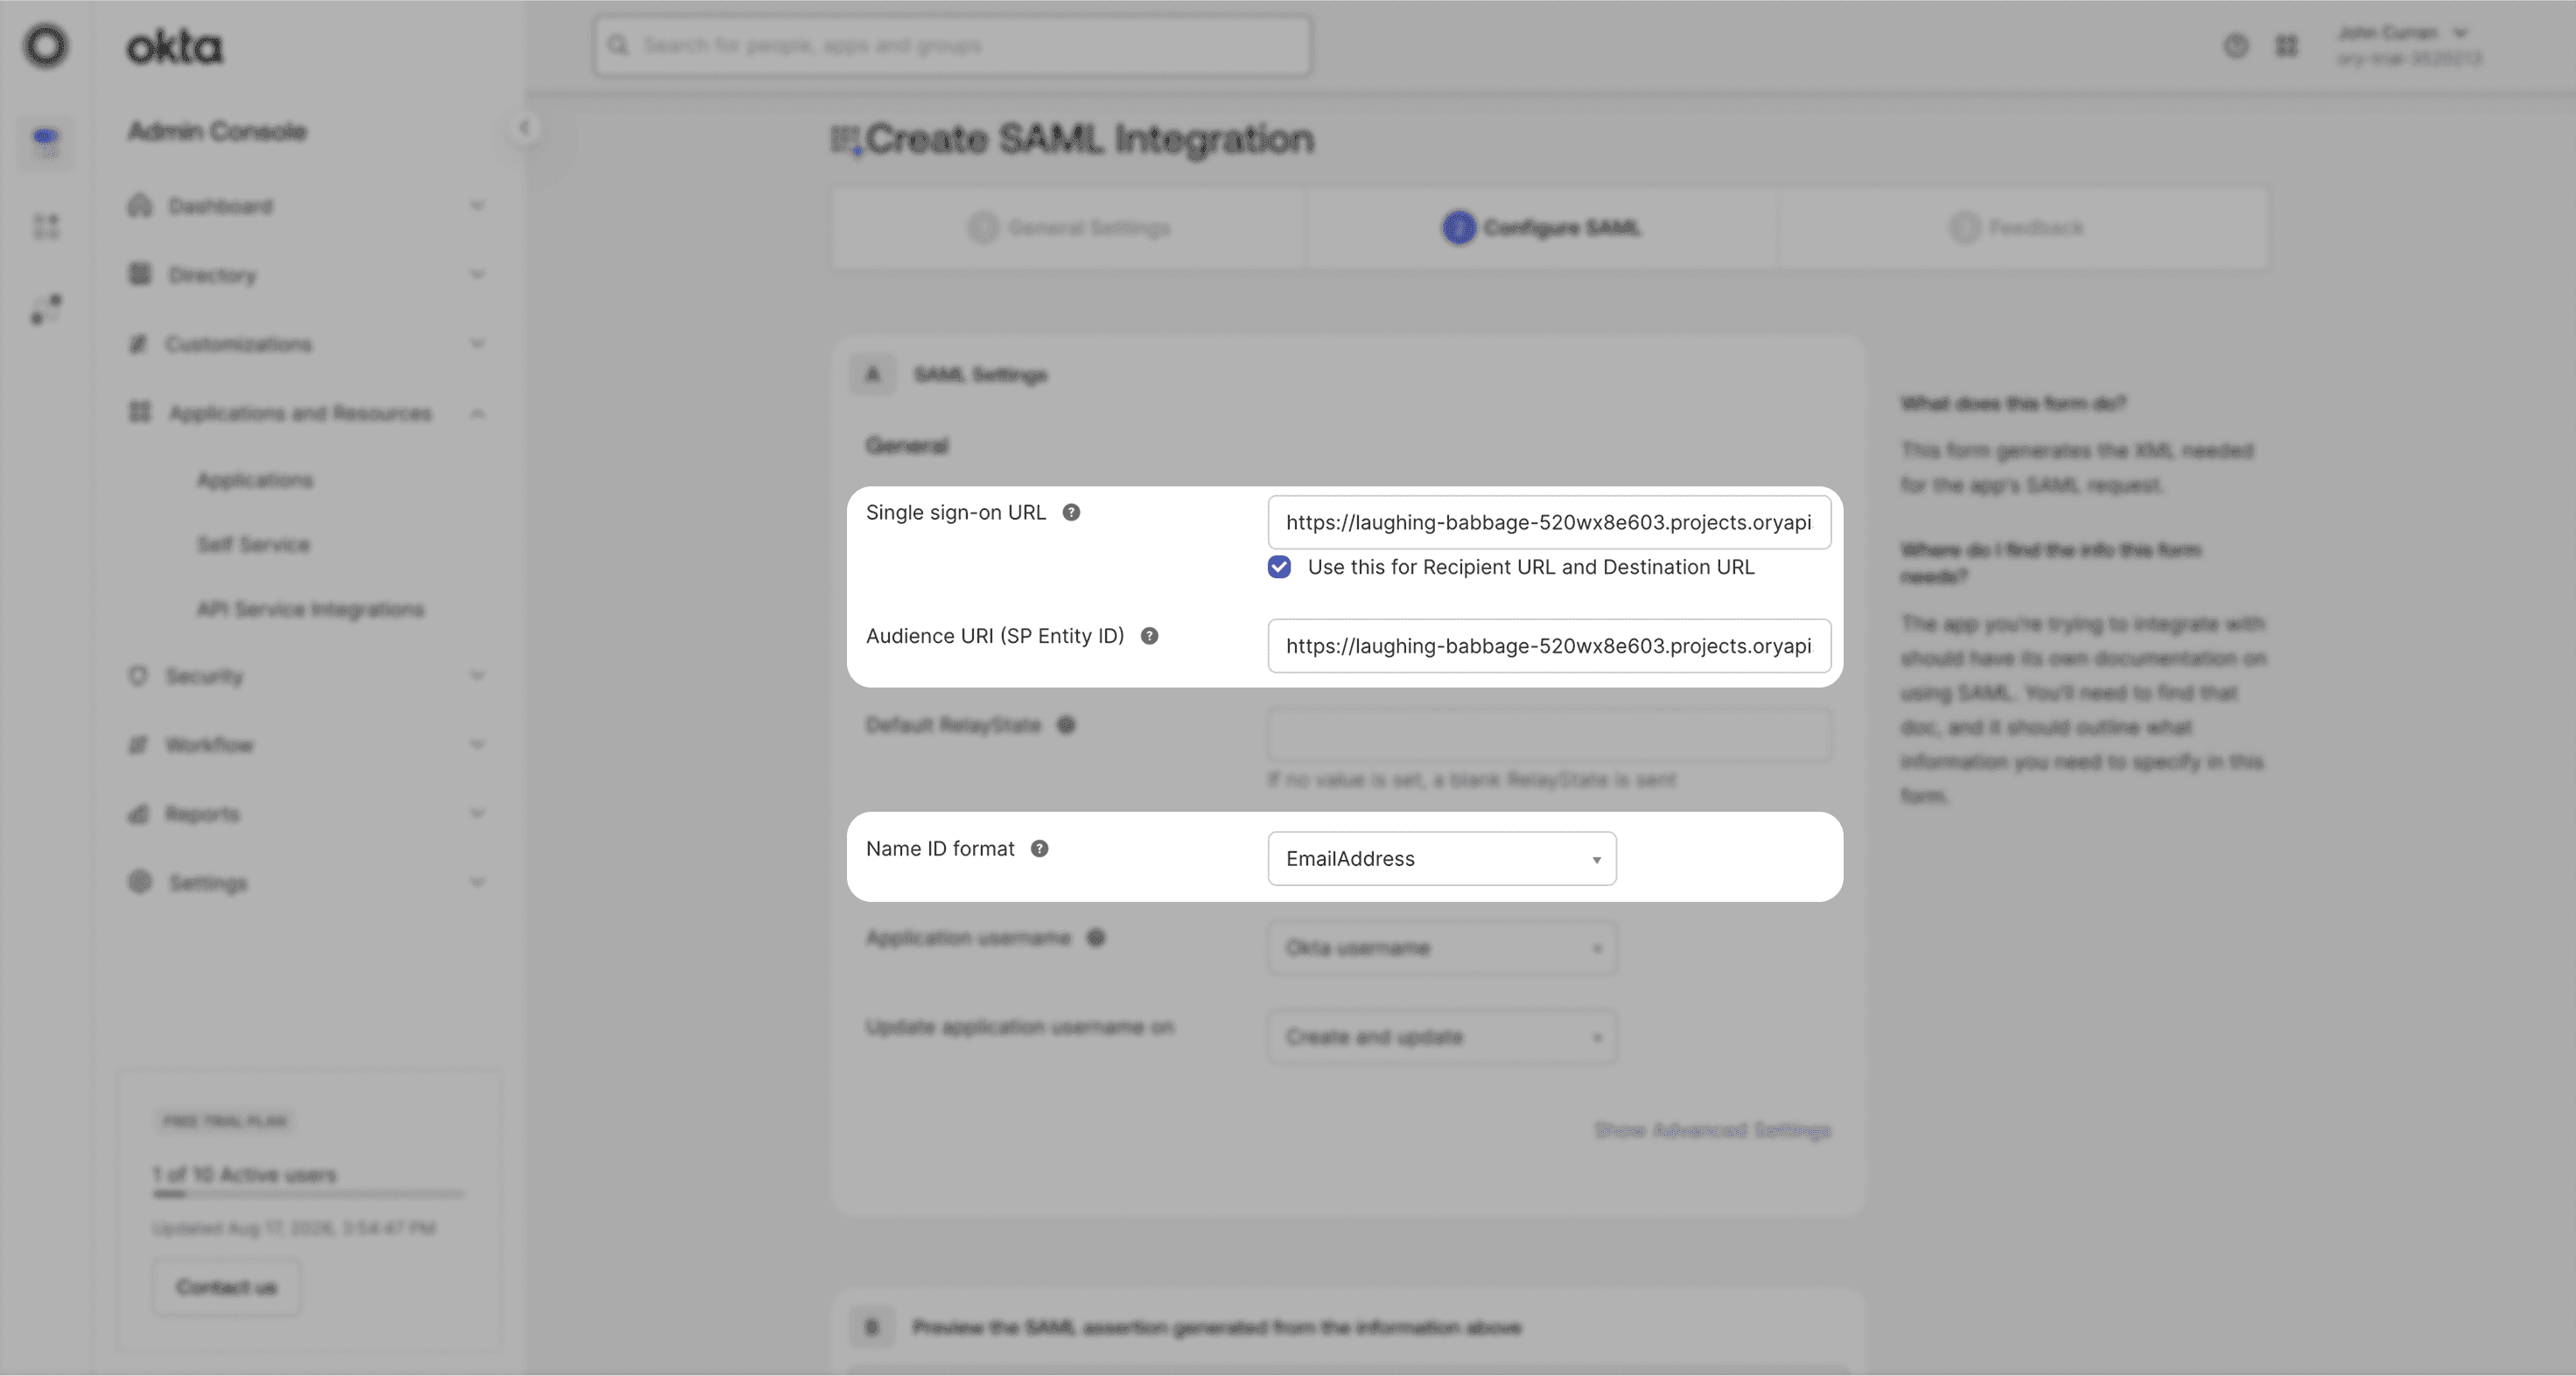
7. On Okta's Configure SAML page, copy the ACS URL and Entity ID from the open Circleback form into the fields below. Set the Name ID format and application username as shown:
| Field | Value |
|---|---|
| Single sign-on URL | https://circleback.ai/api/sso/oauth/saml |
| Audience URI (SP Entity ID) | https://circleback.ai/api/sso/metadata |
| Name ID format | EmailAddress |
| Application username |
The application username must match the email your team member uses in Circleback.
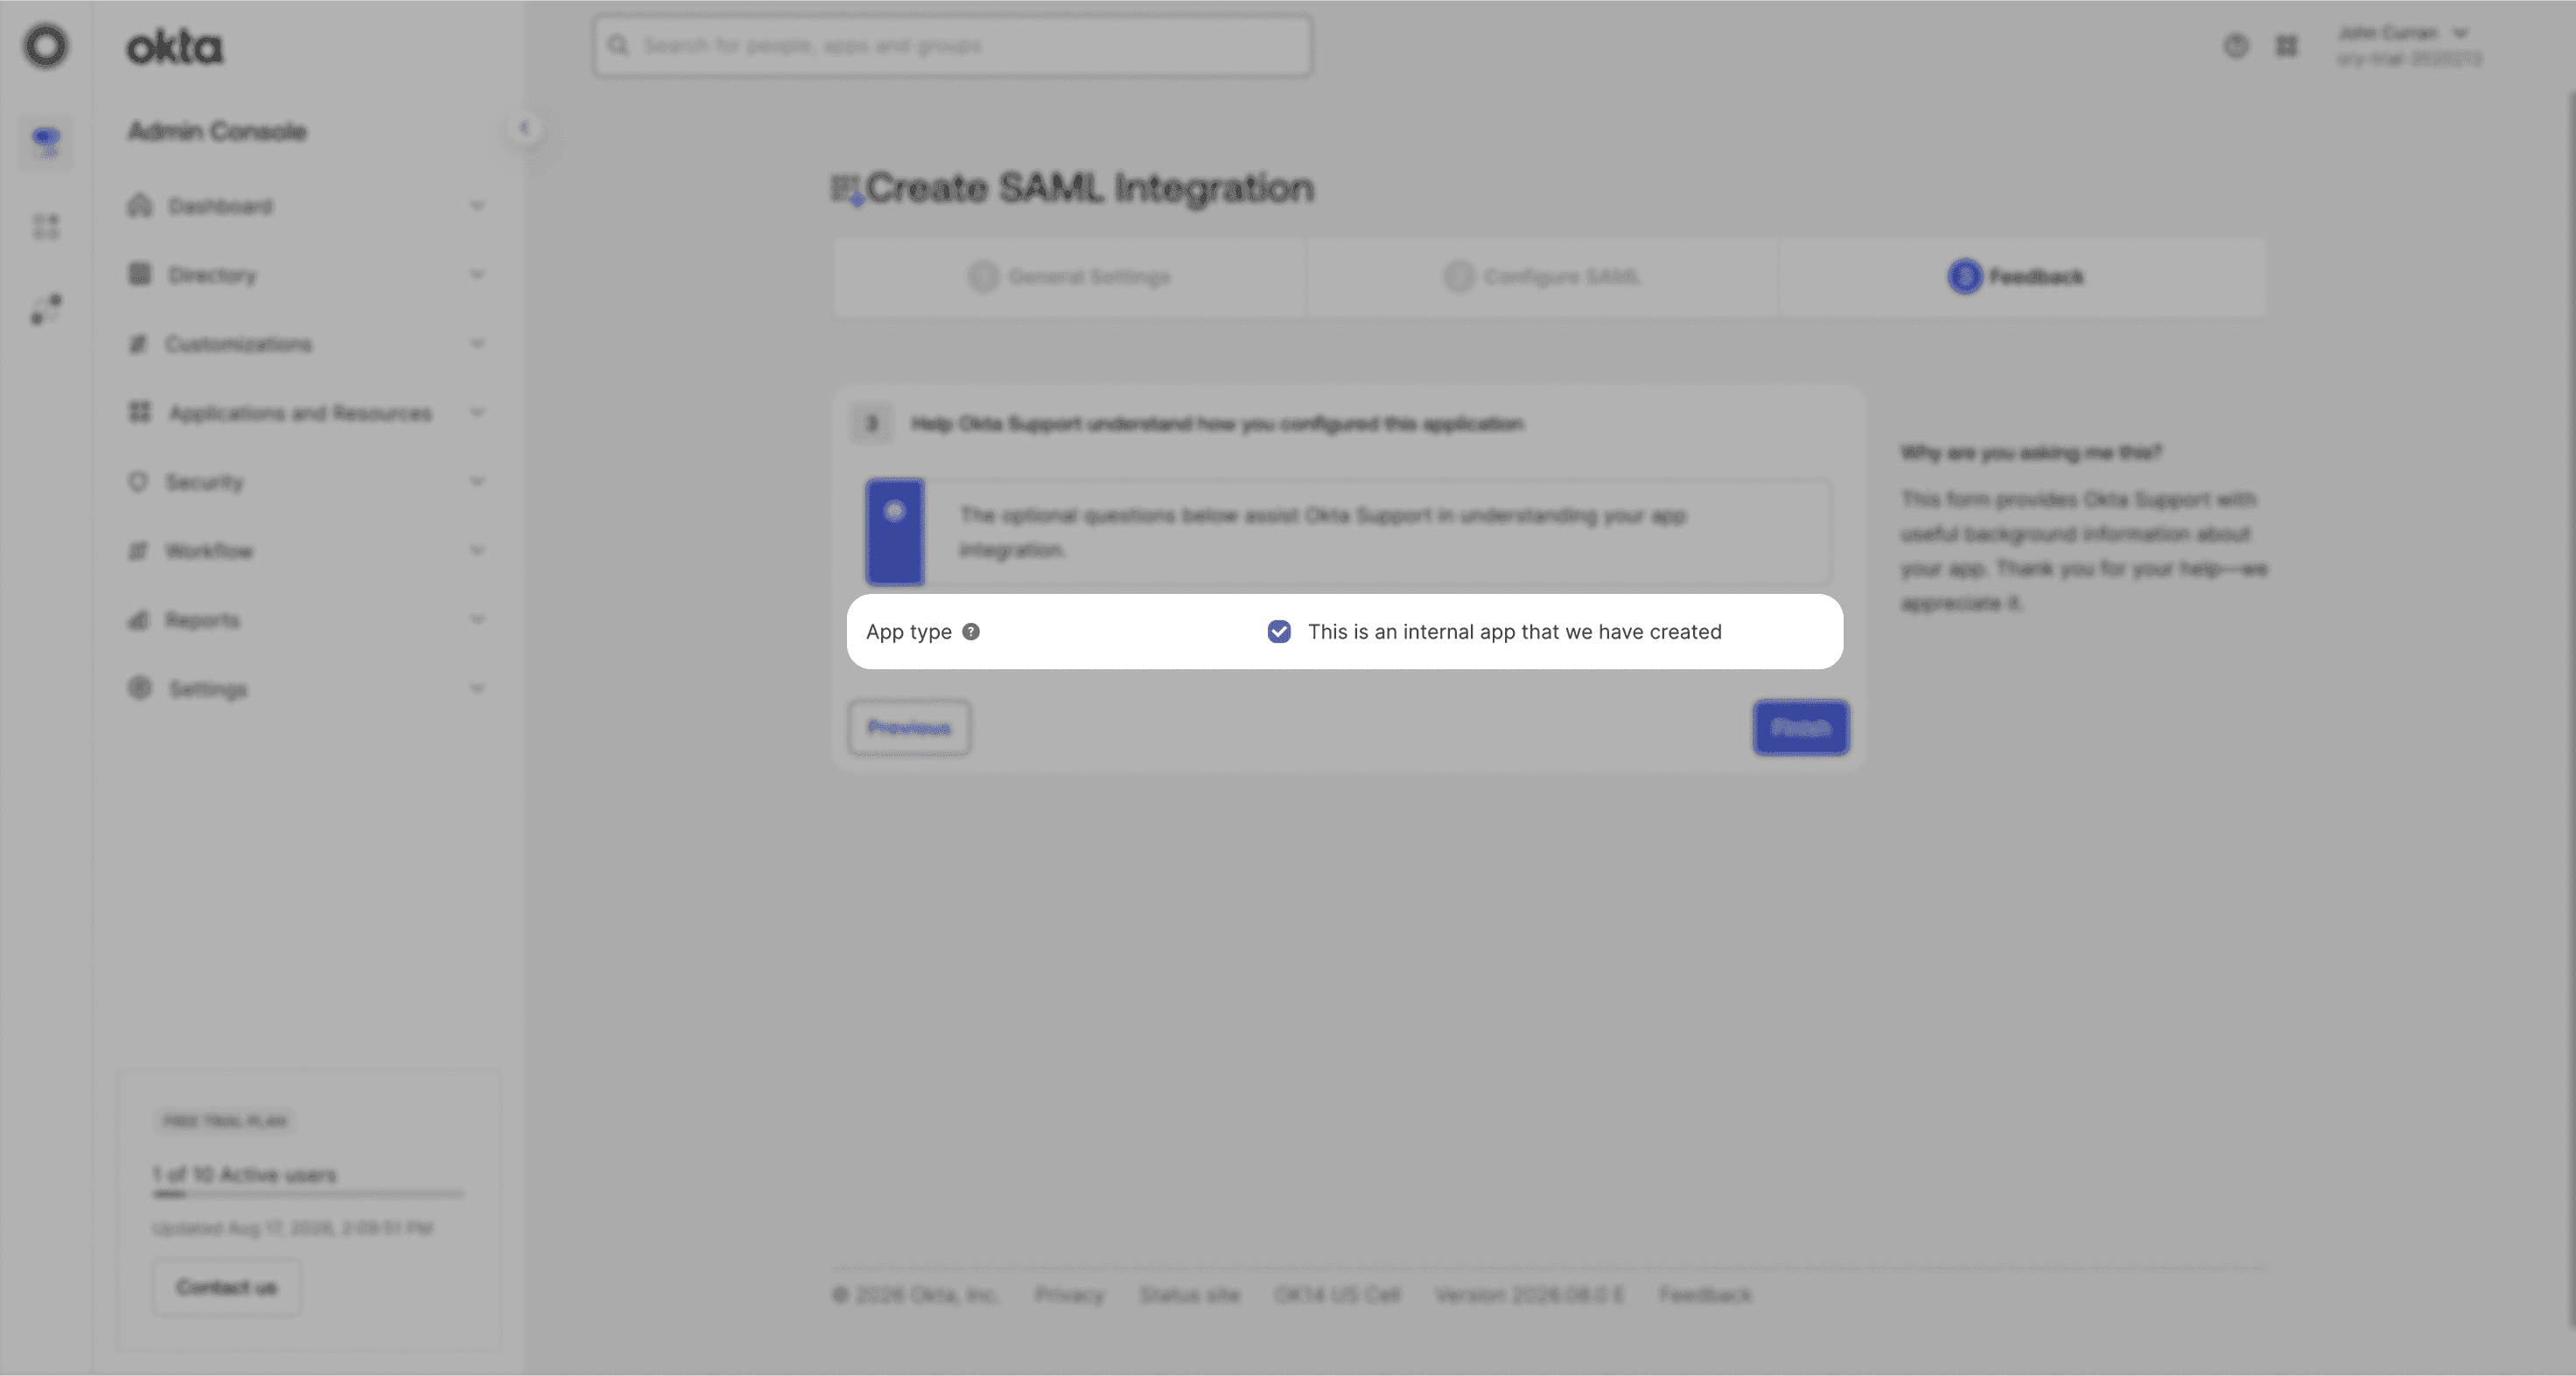
8. Select Next, complete the feedback form for an internal application, then select Finish.
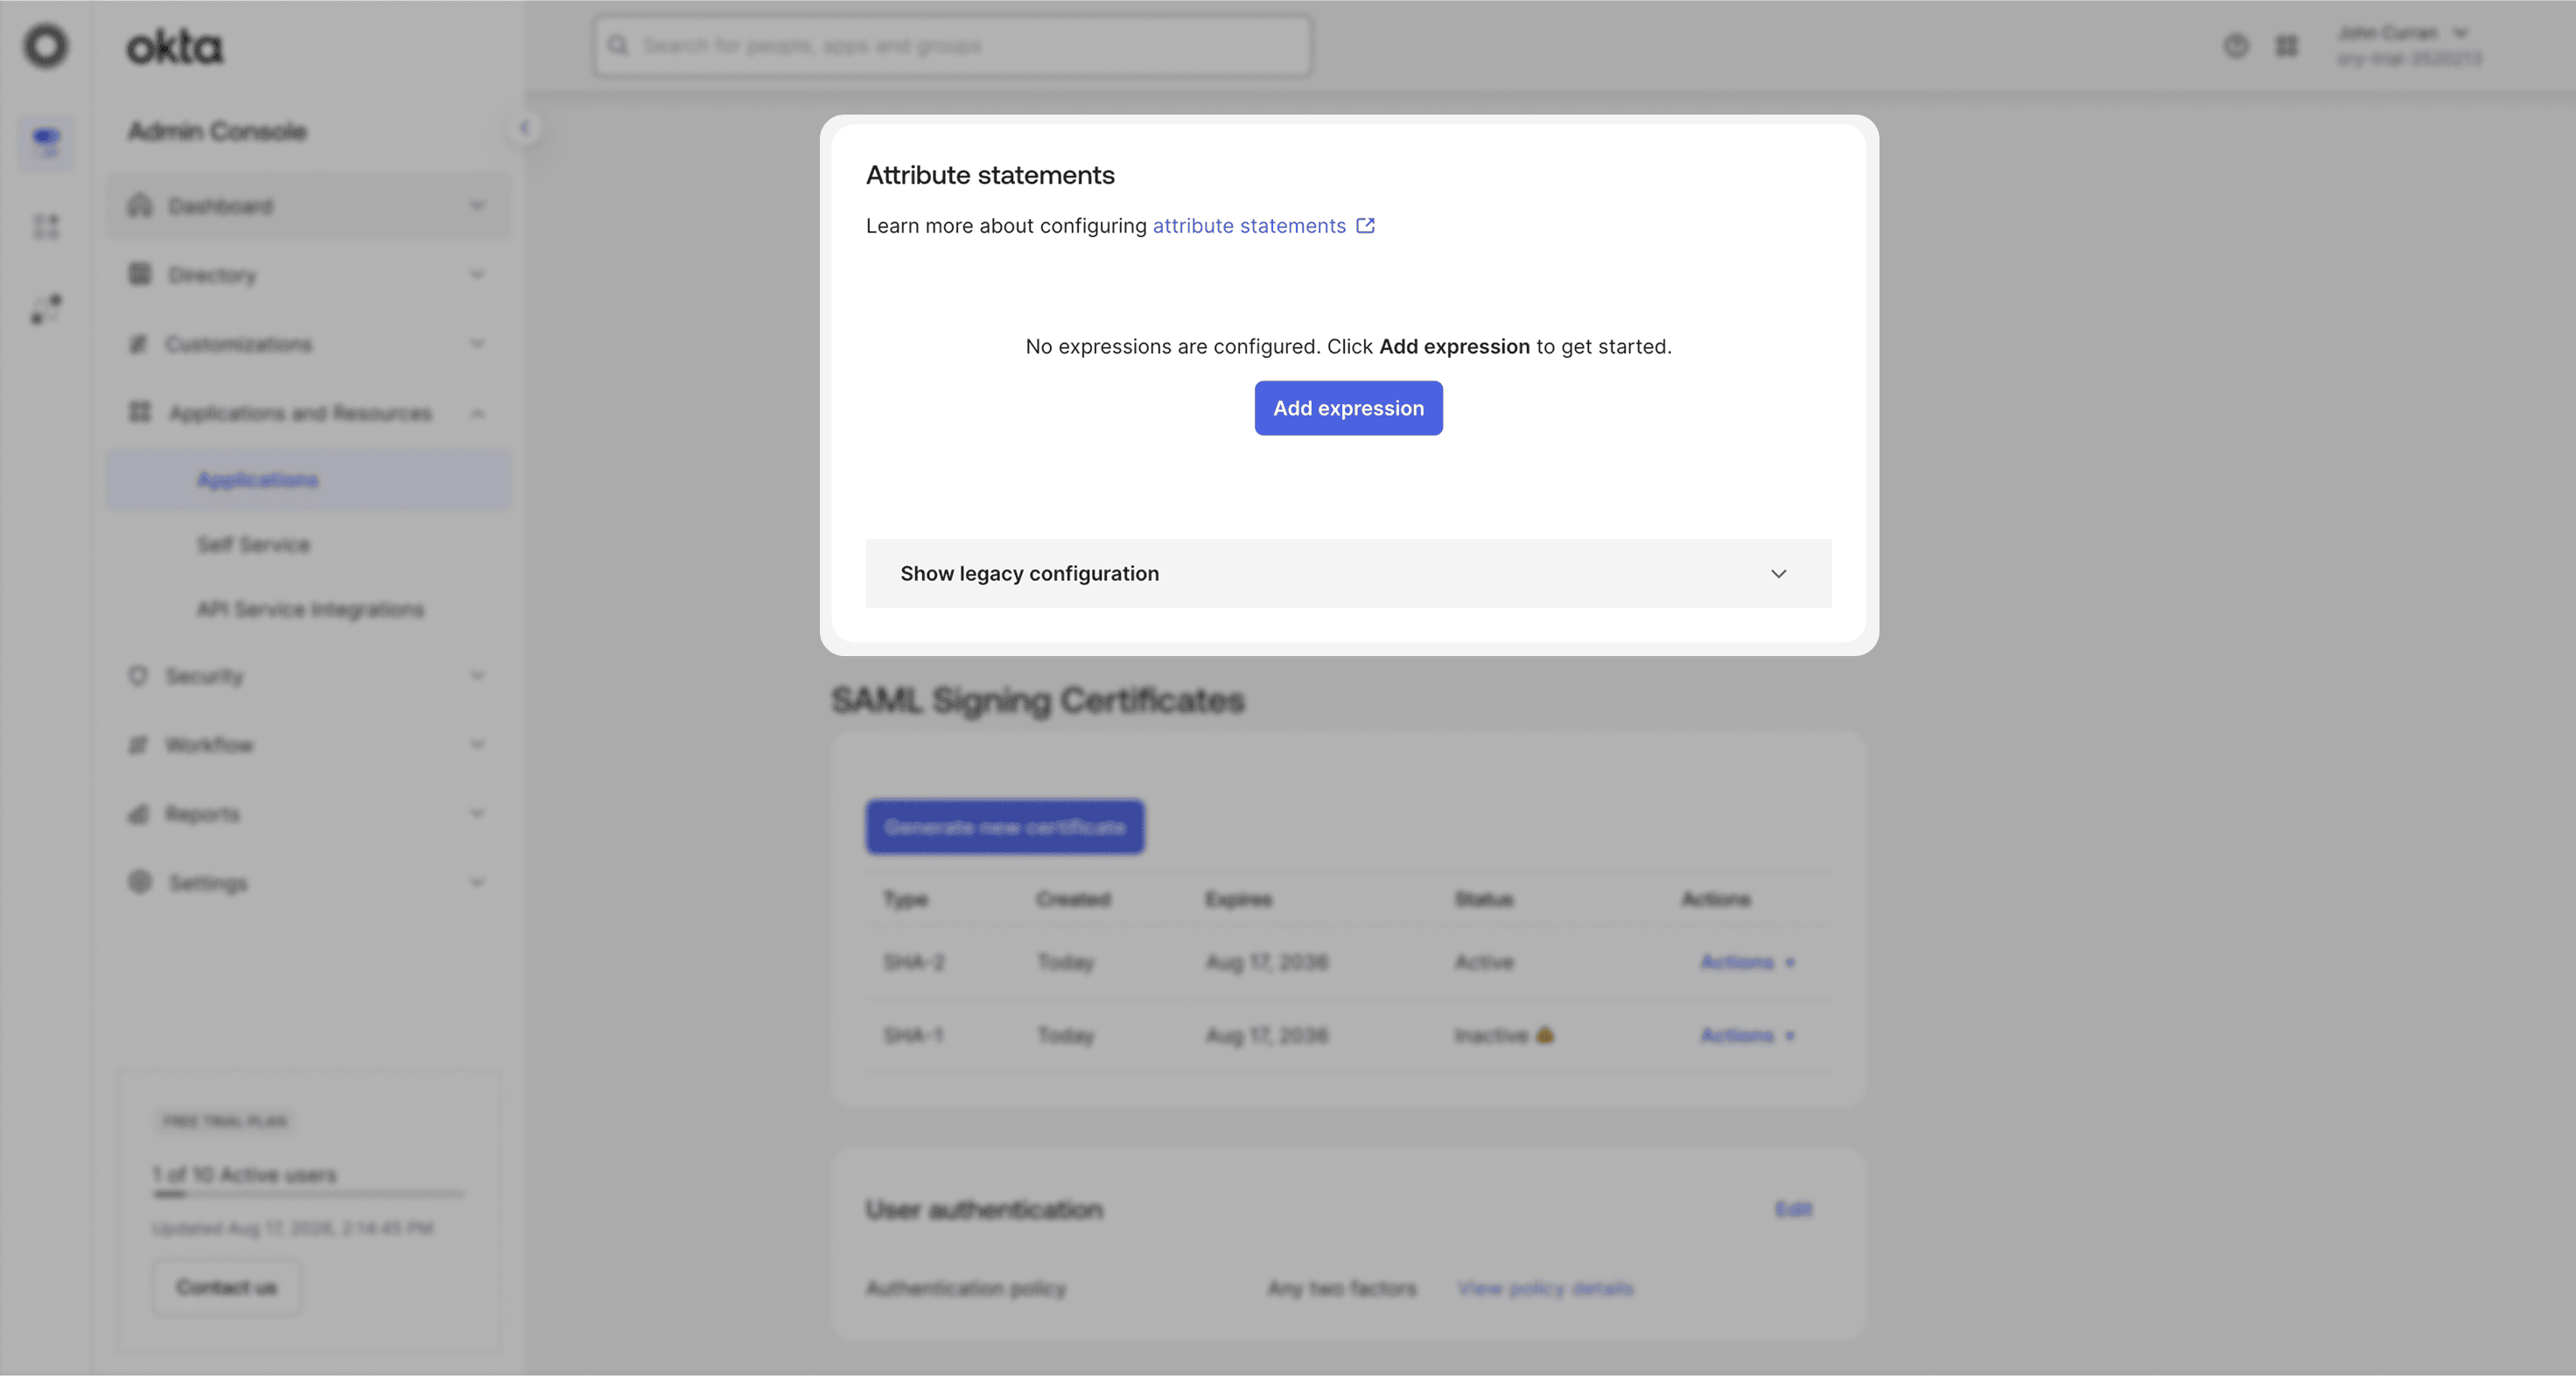
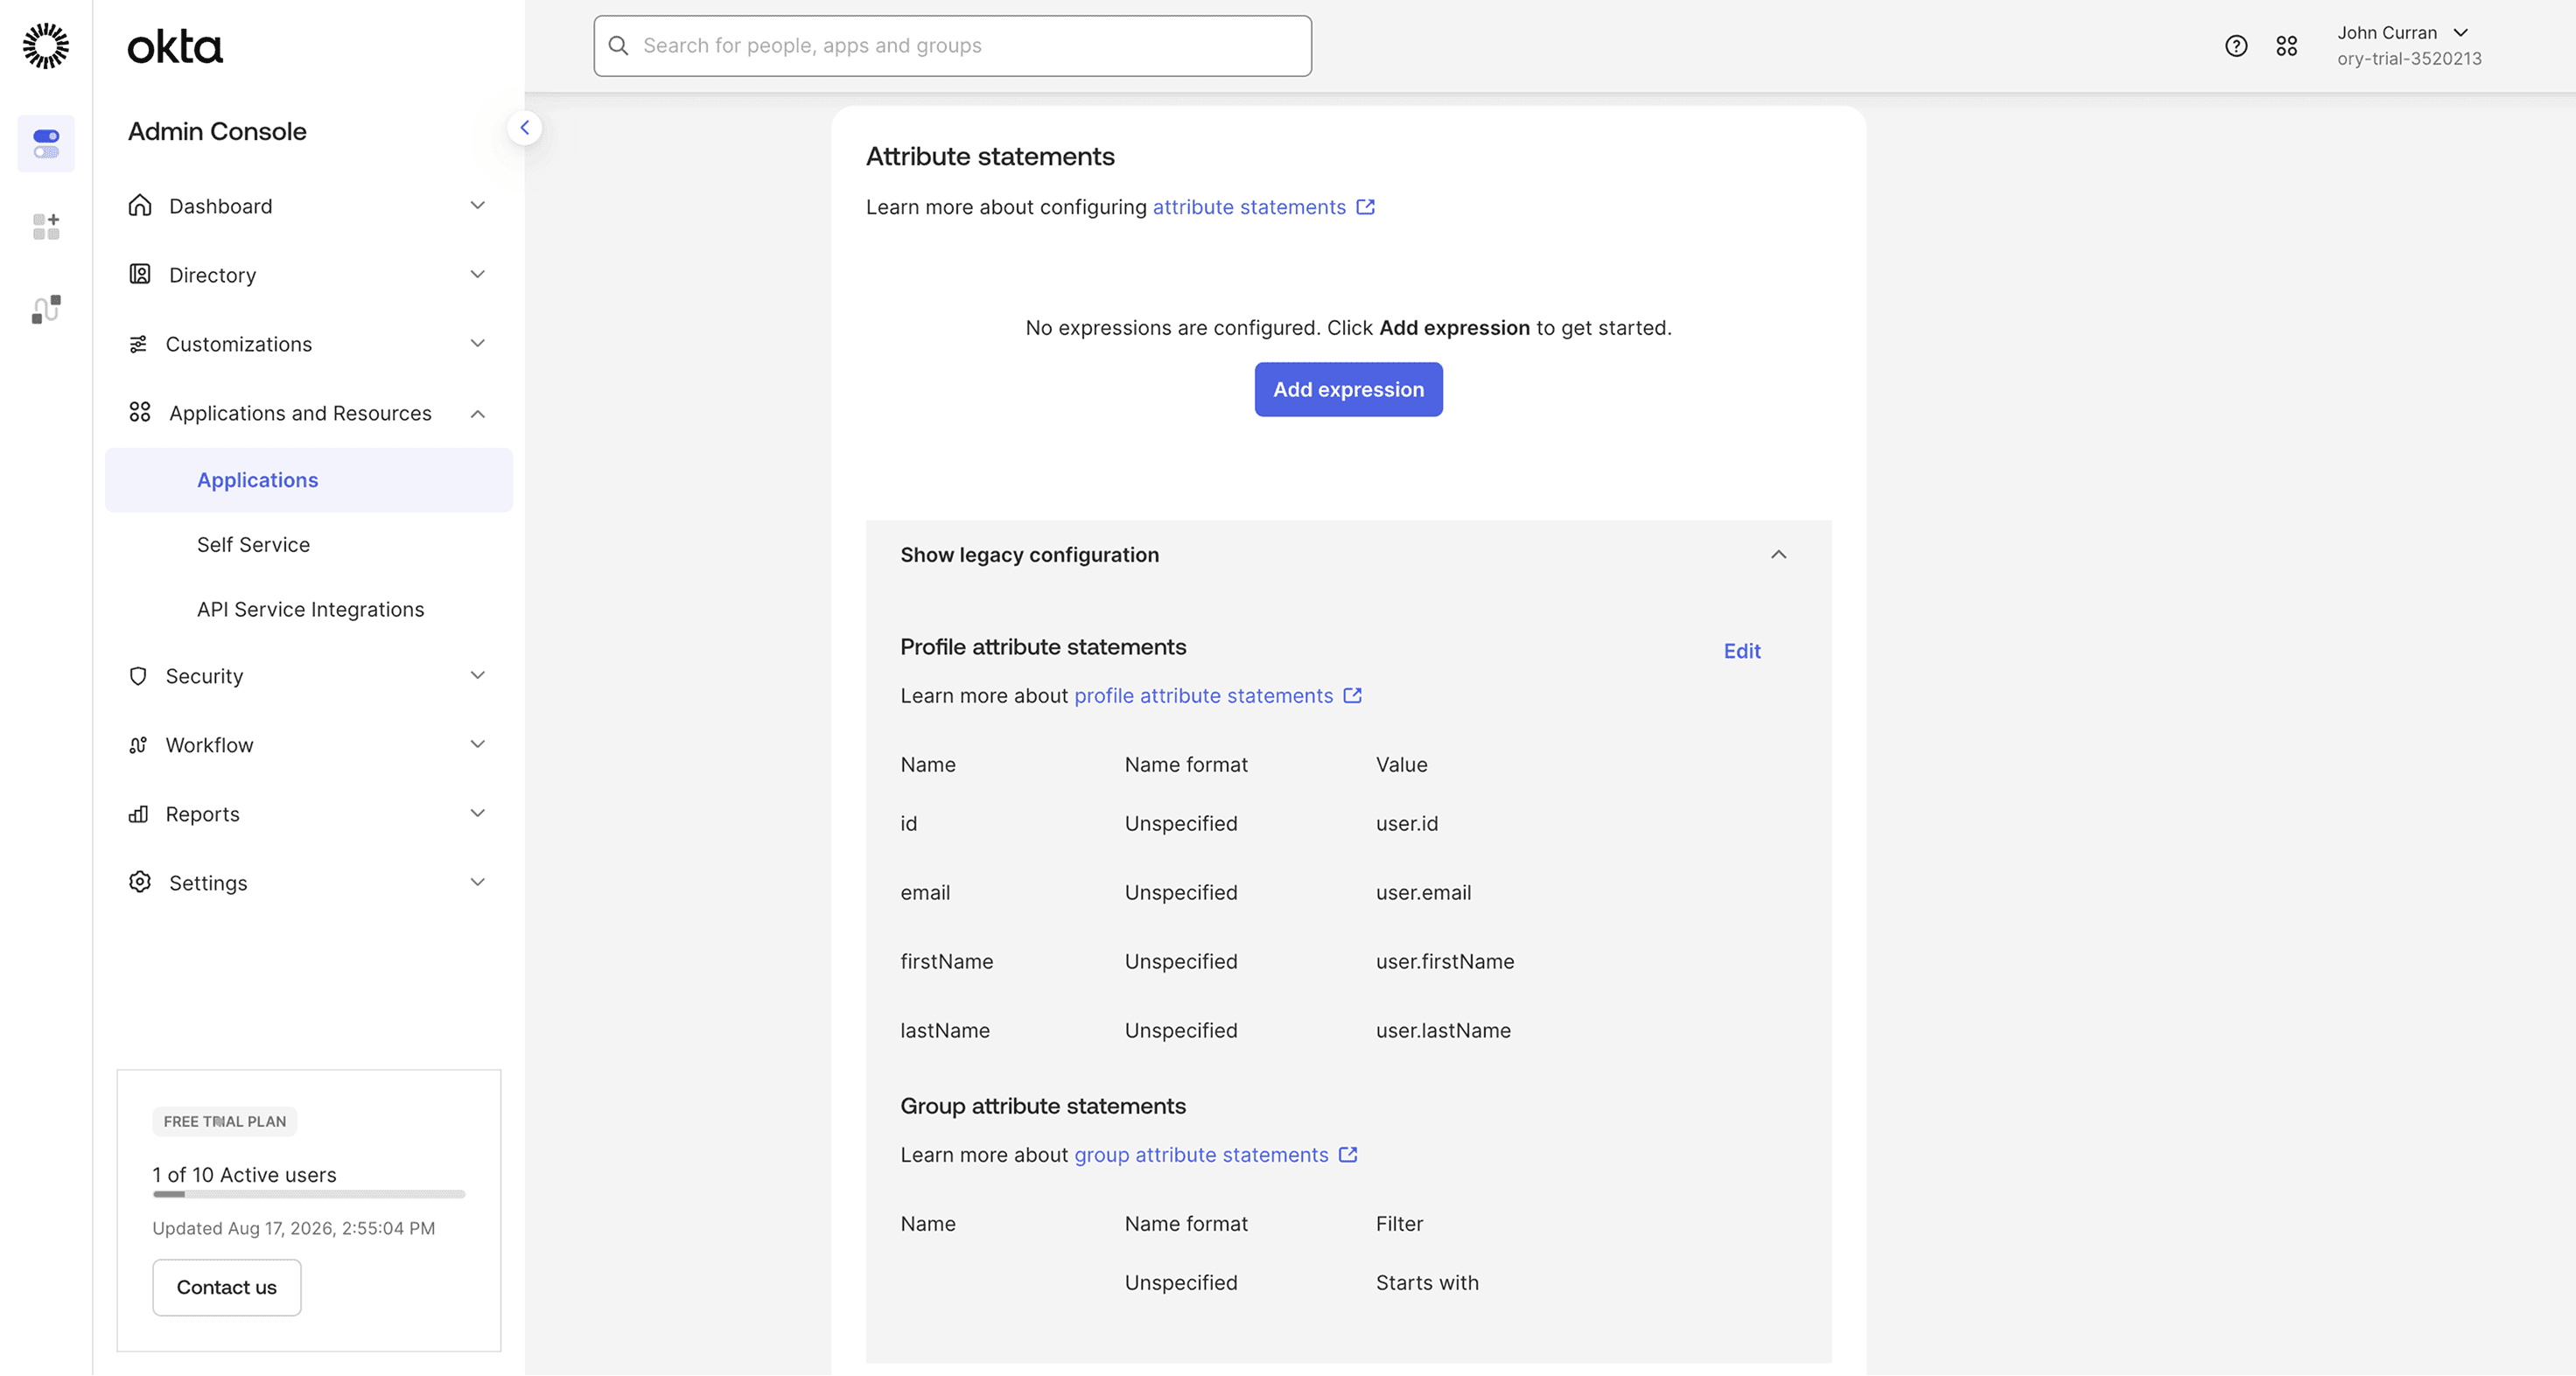
9. Open the application's Sign On tab and find Attribute statements.
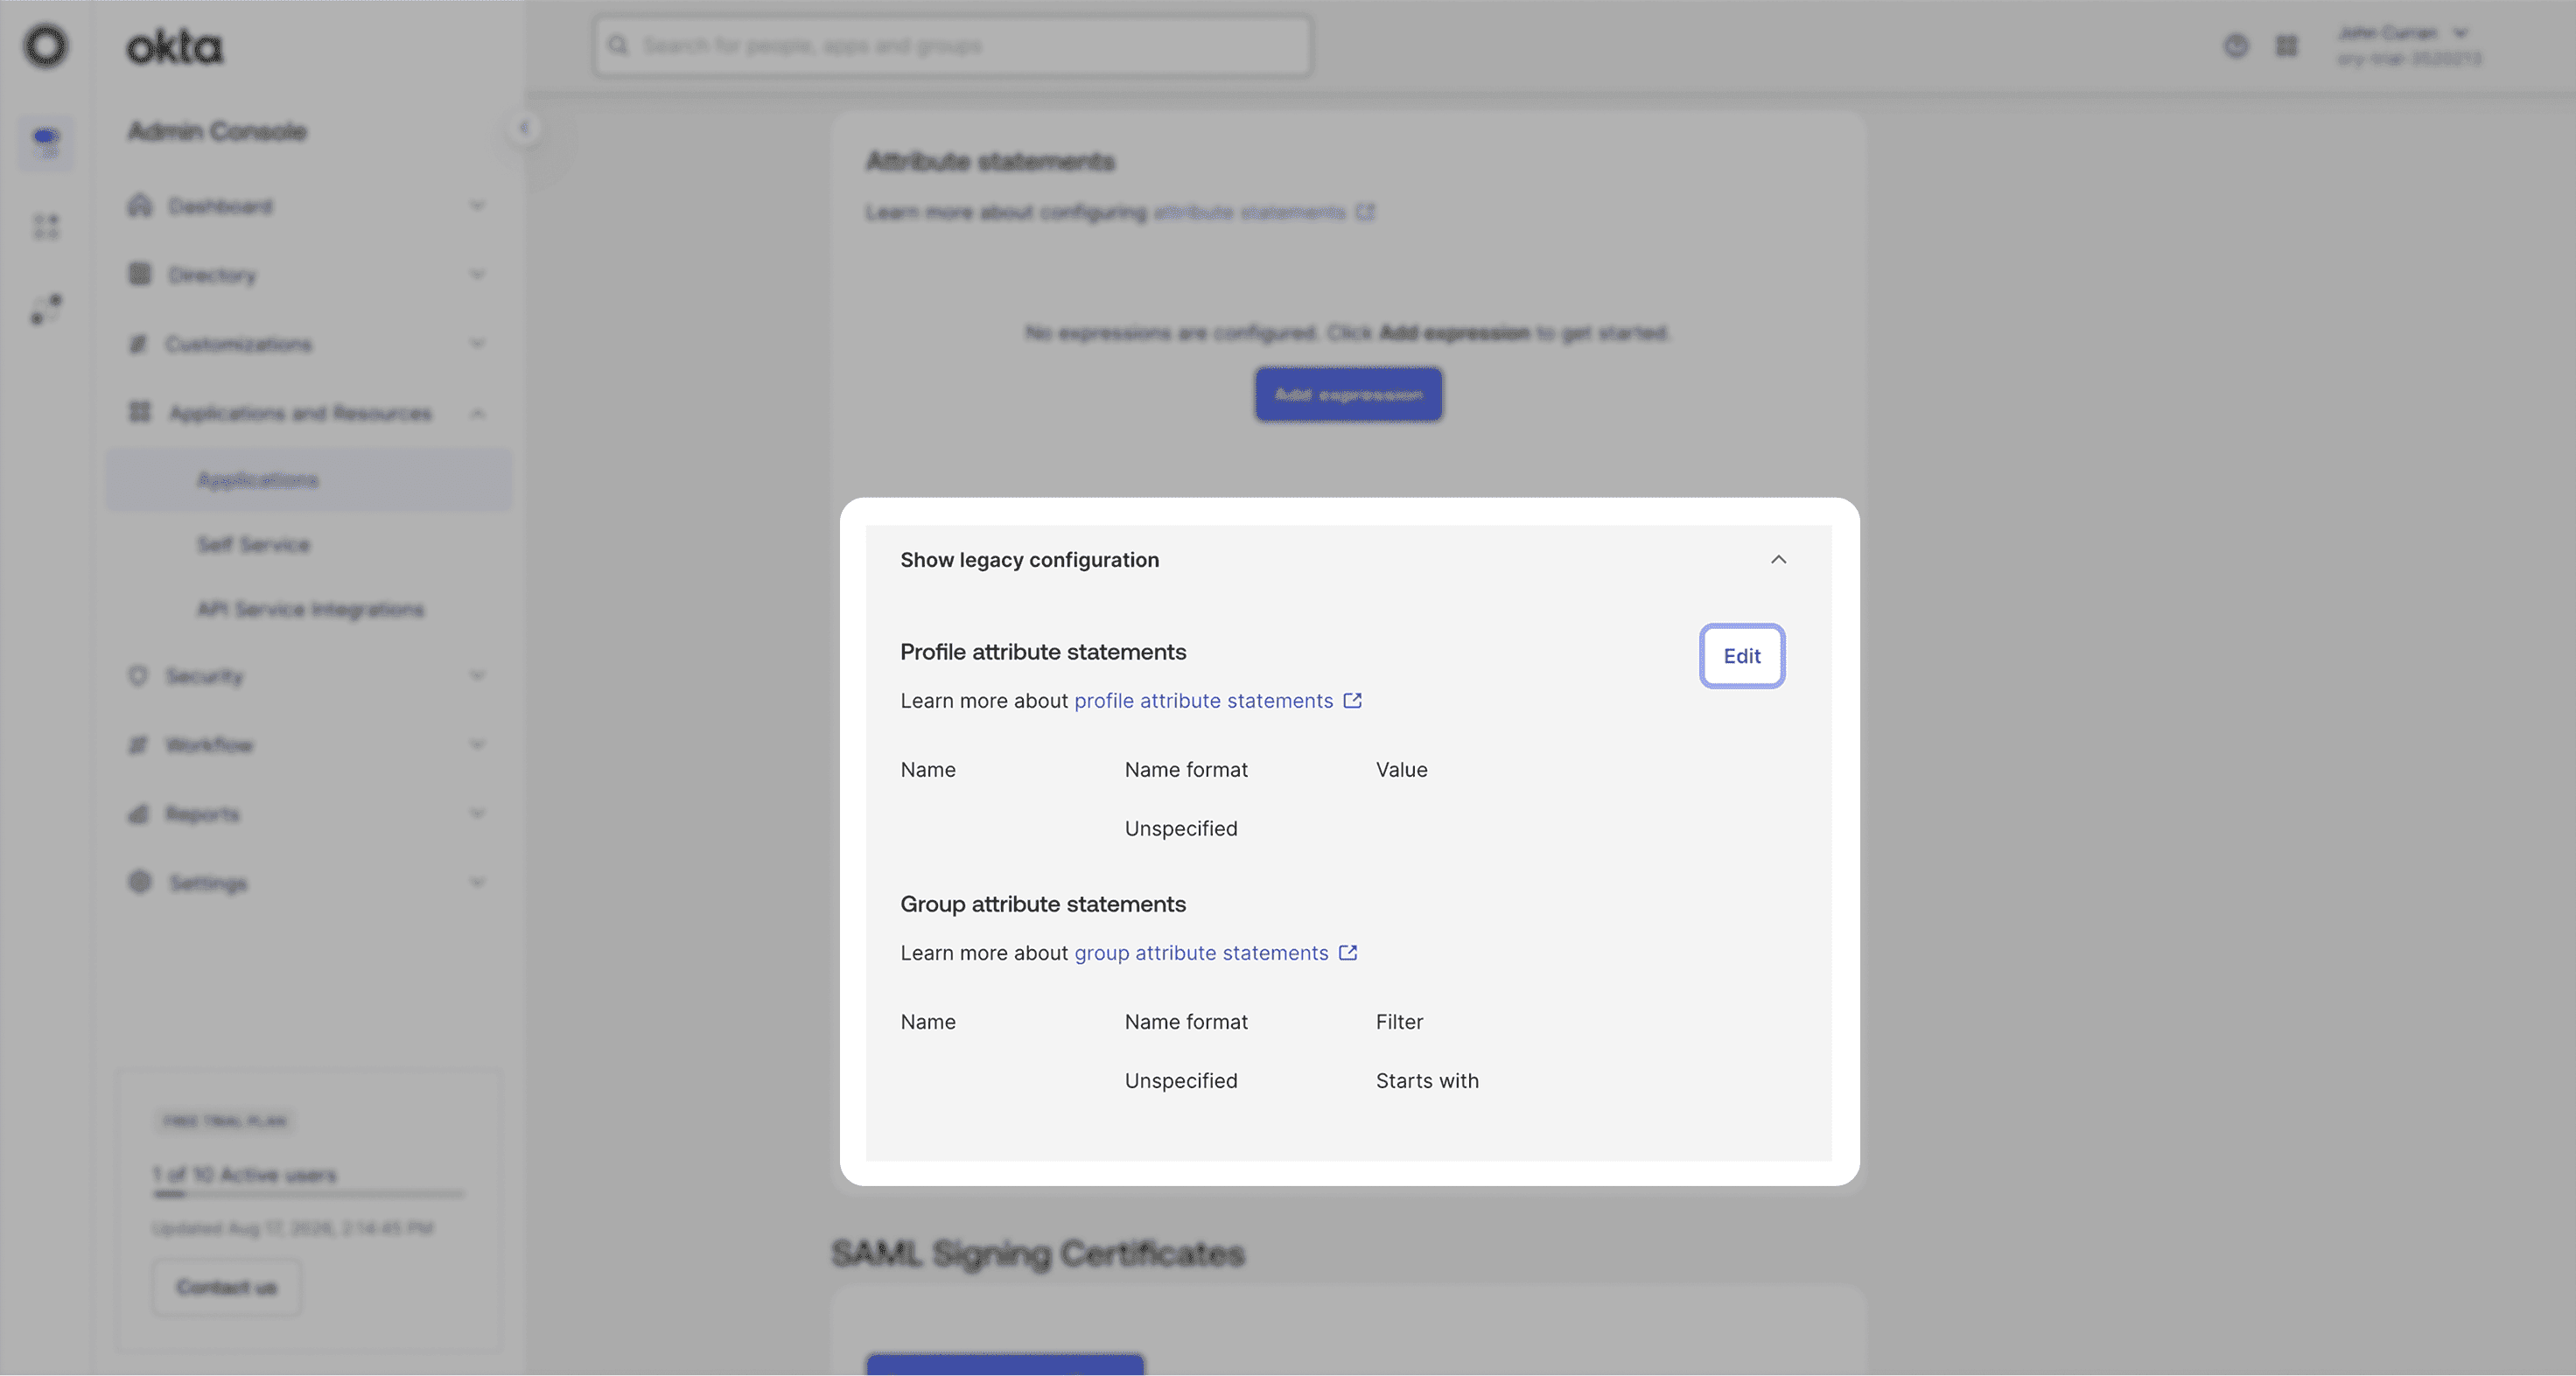
10. Expand Show legacy configuration, then select Edit next to Profile attribute statements.
11. Add these attributes, leaving Name format as Unspecified:
| Name | Value |
|---|---|
email | user.email |
firstName | user.firstName |
lastName | user.lastName |
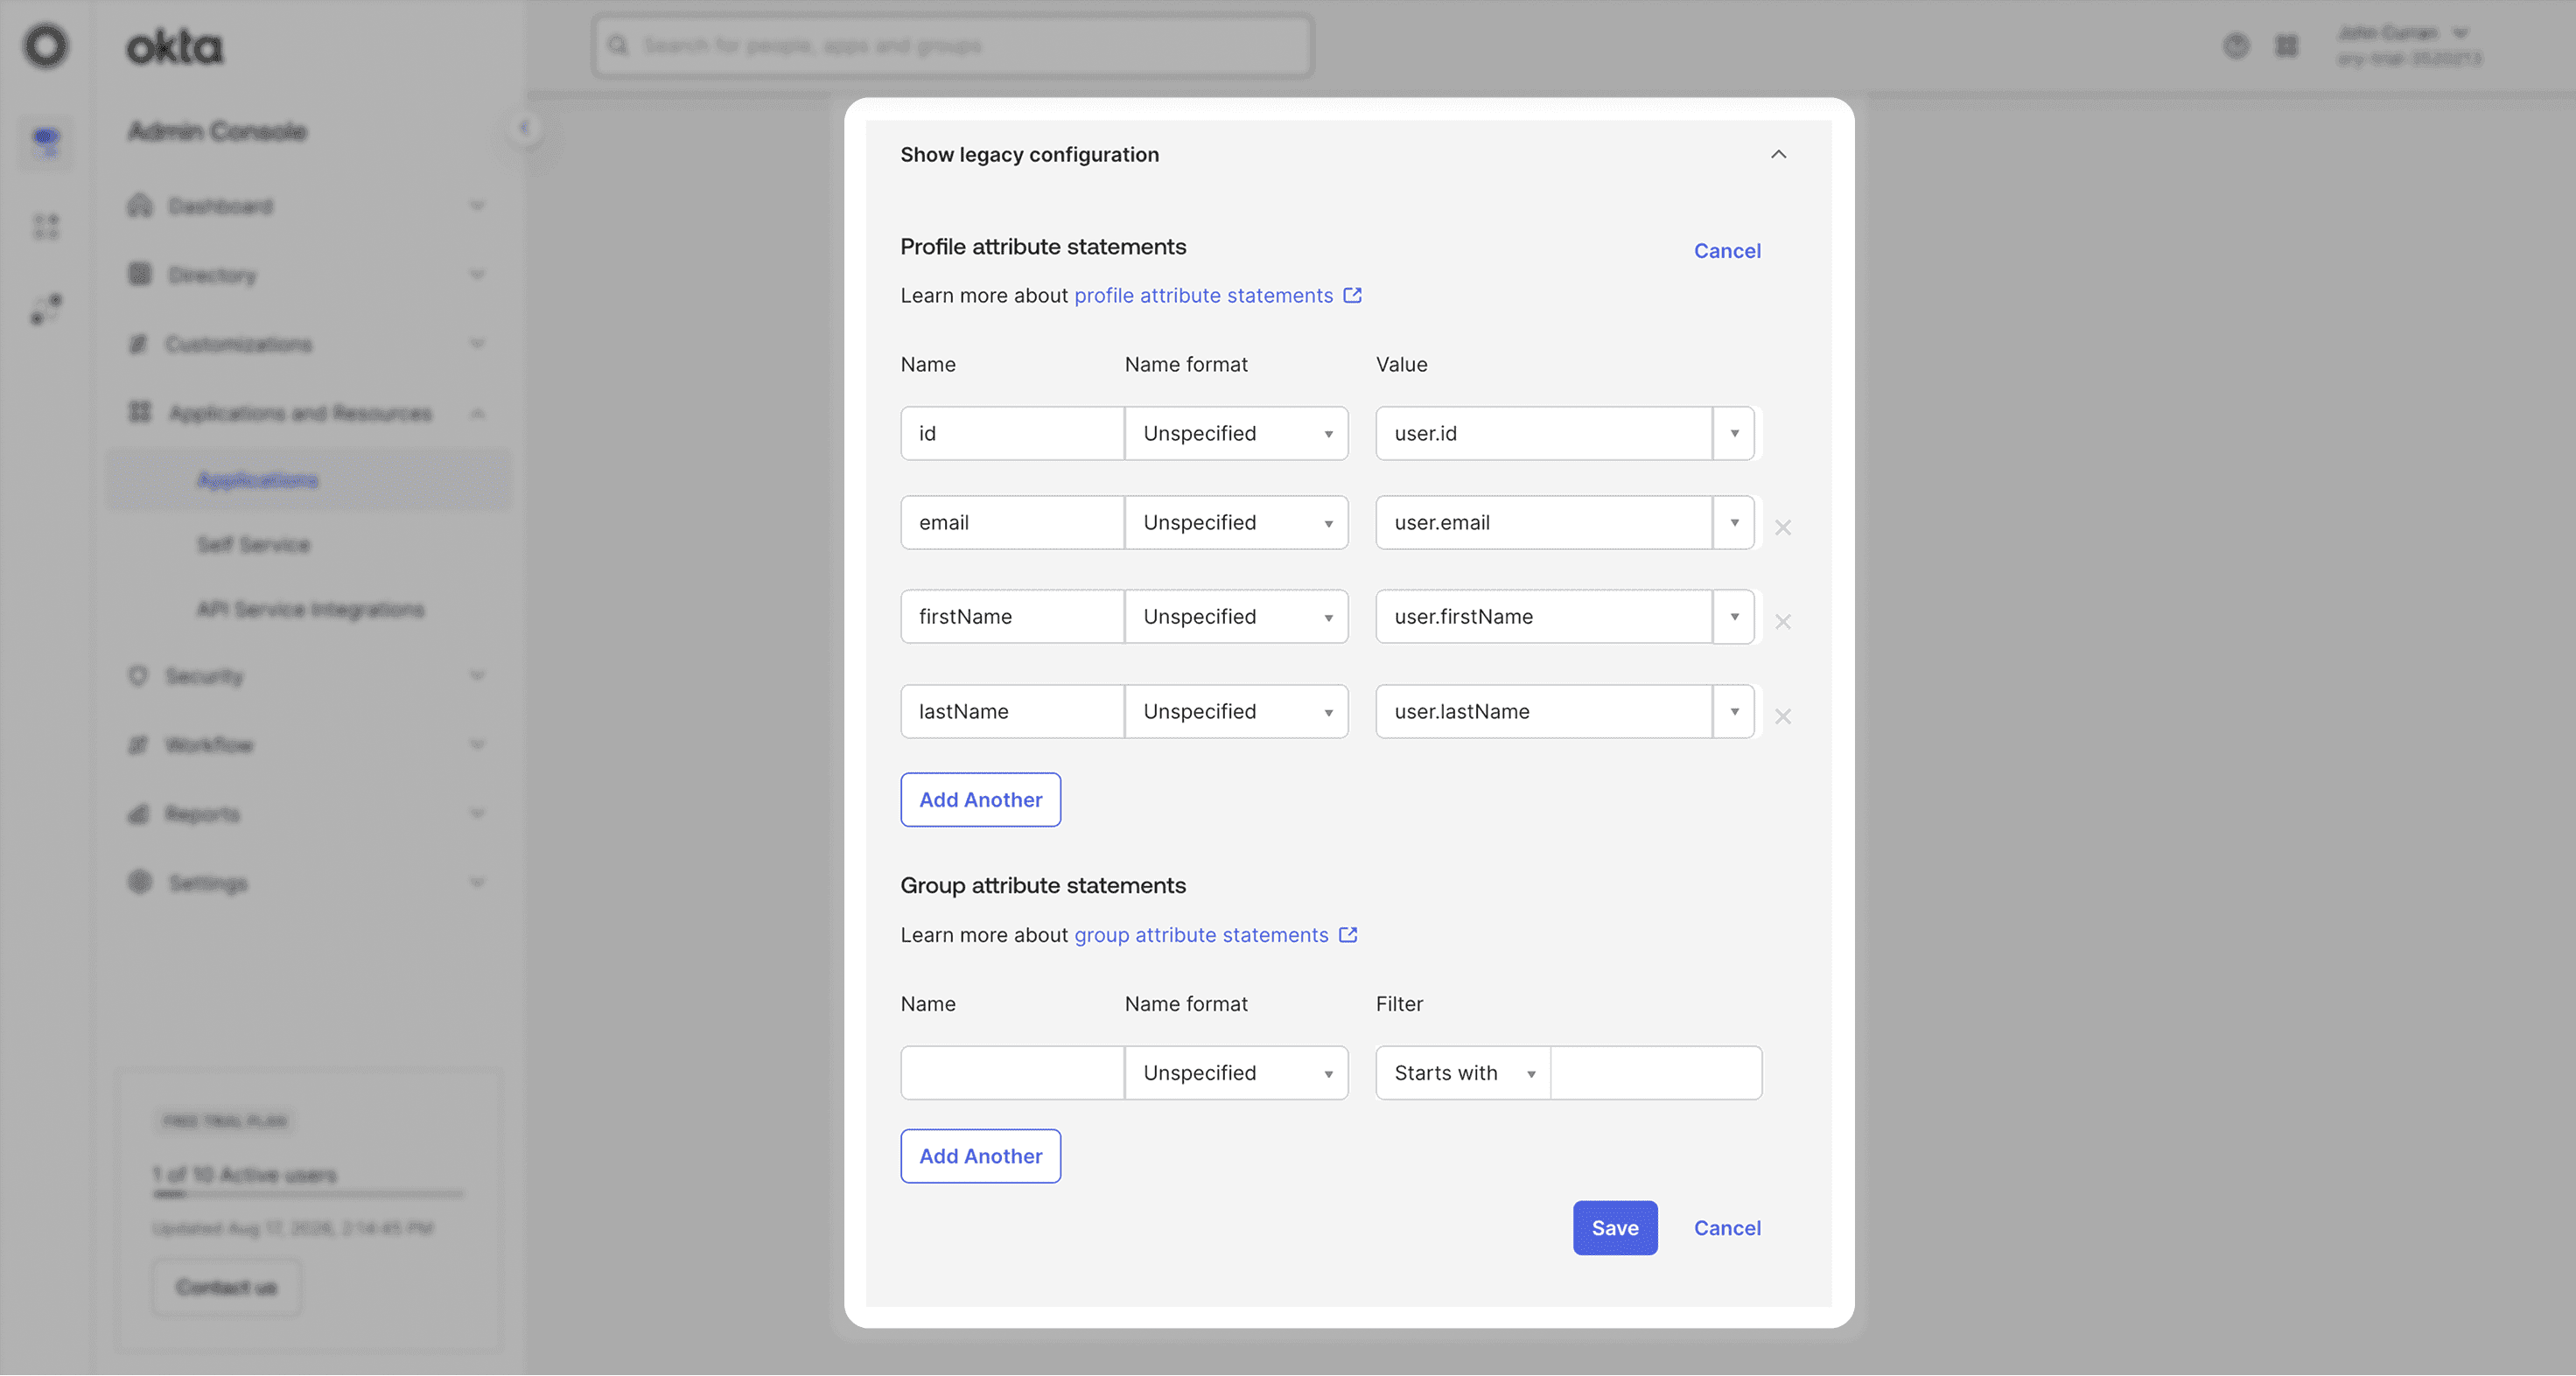
12. Select Save.
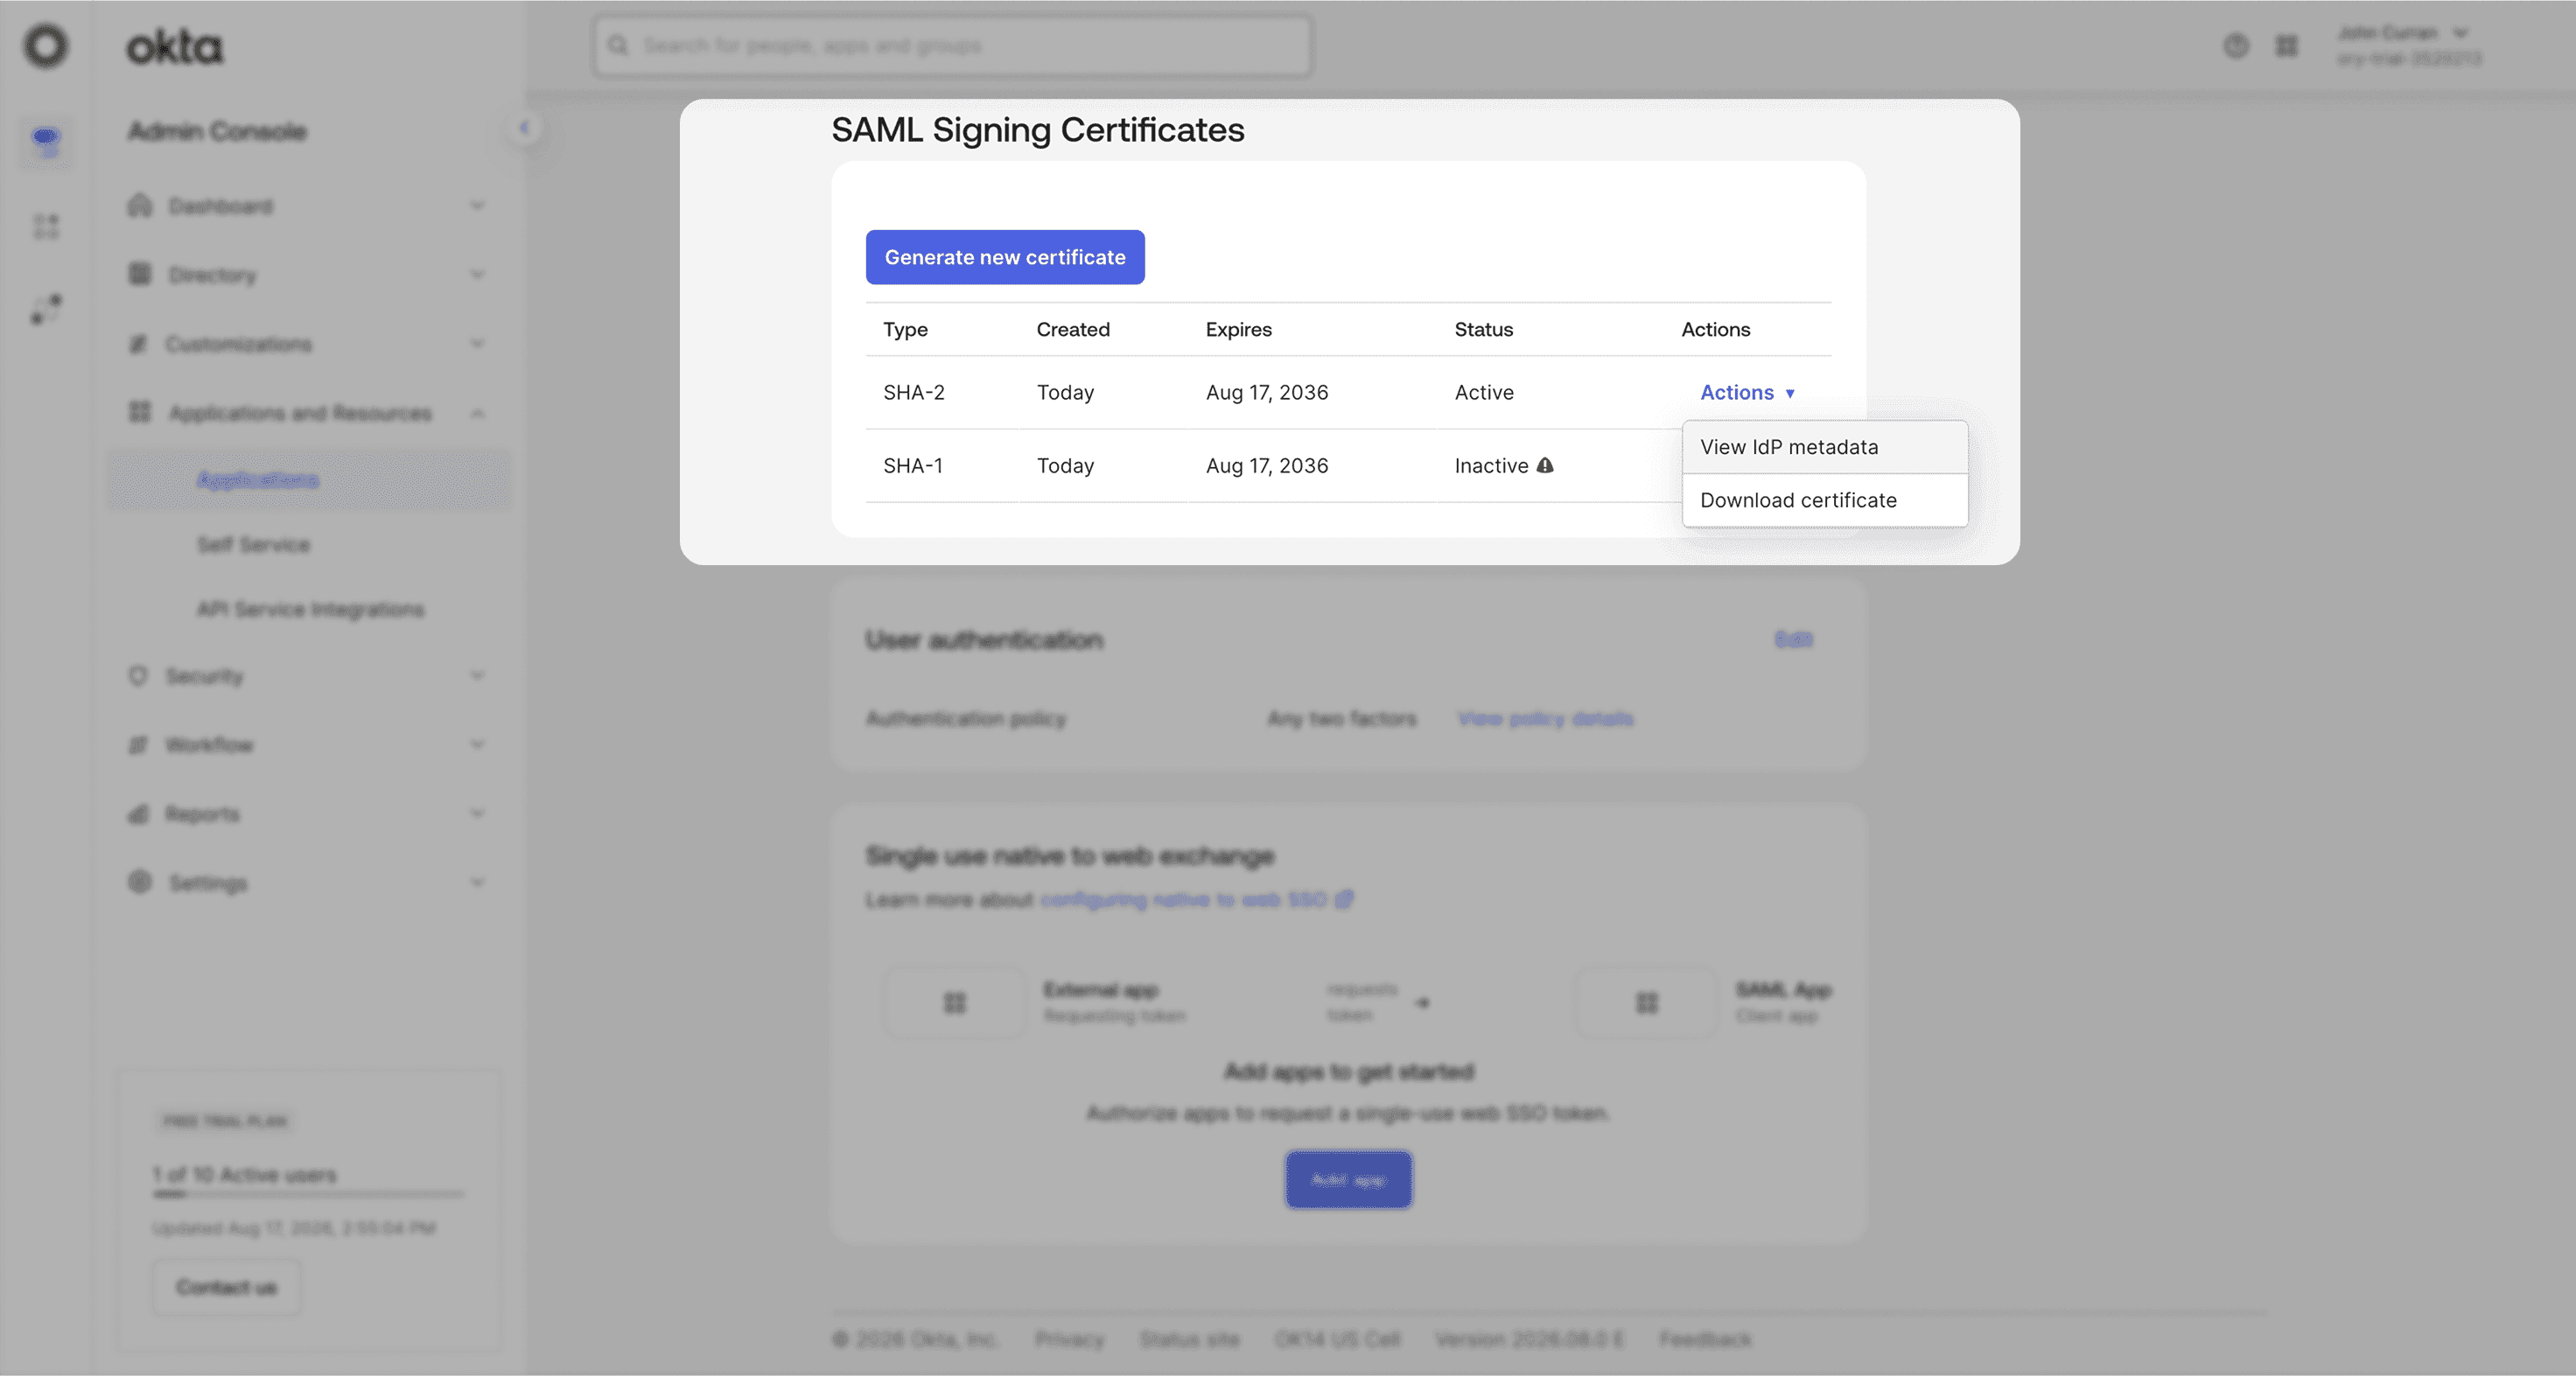
13. On the Sign On tab, under SAML Signing Certificates, open Actions for the active certificate and select View IdP metadata. Copy the XML.
14. In the open Circleback form, under Metadata source, choose Paste XML manually and paste the XML into Metadata XML.
15. In Okta, open the application's Assignments tab and assign the people or groups that should use Circleback.
16. Return to Circleback and select Continue. Leave No directory sync selected for sign-in only, or select Okta if you plan to set up SCIM provisioning. Select Connect.
If you selected Okta for directory sync, use the credentials shown in Circleback to set up directory sync.
To require everyone in your workspace to log in with SSO, follow Enforce SSO for your workspace.